
Alloy Studio
Getting Started
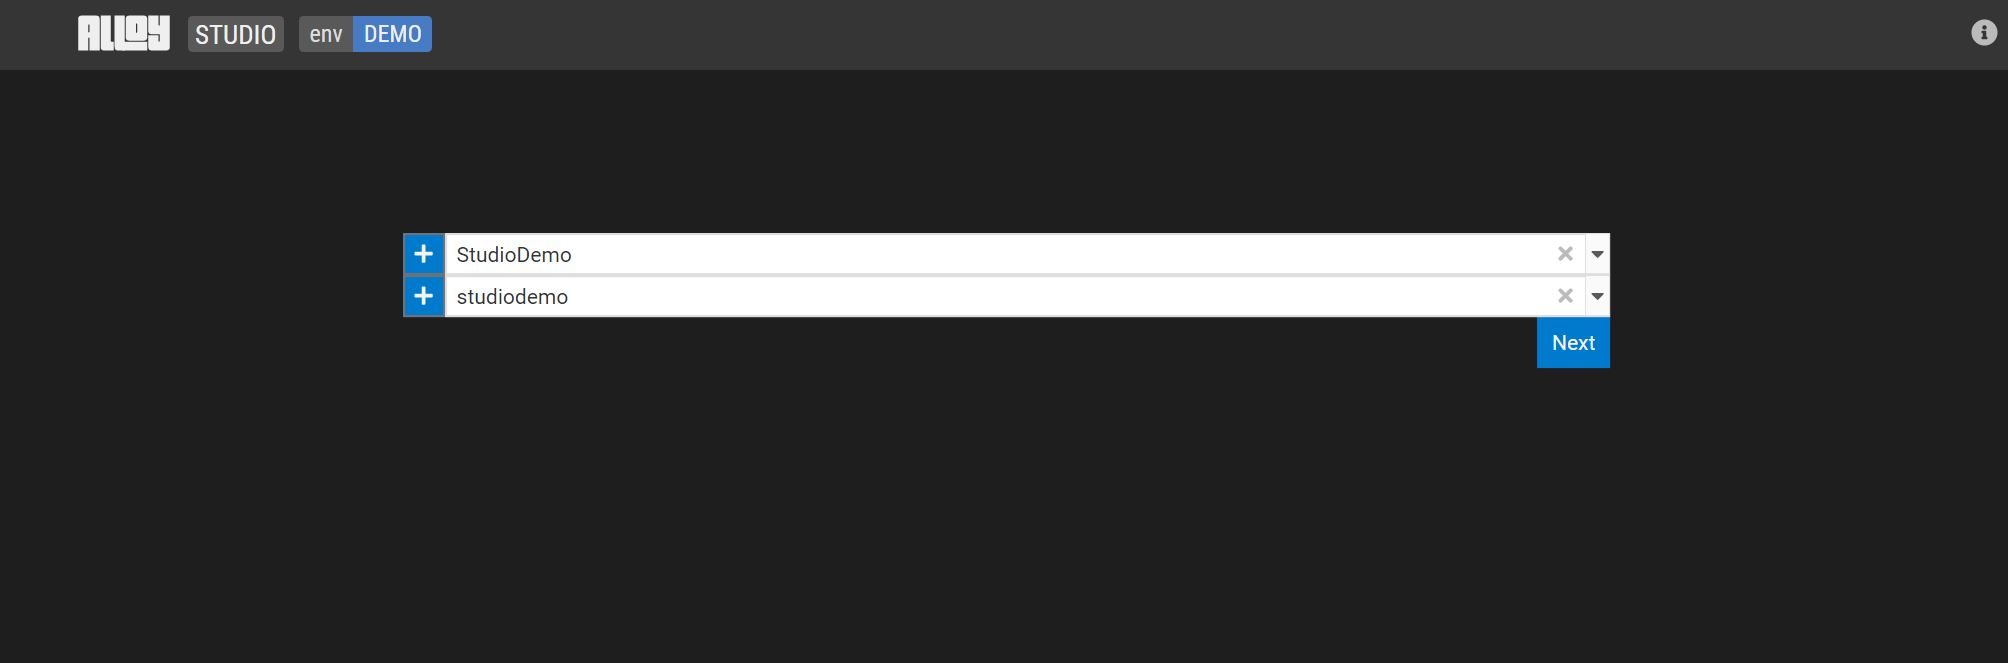
Select an existing GitLab project or select + to start working on a new one.
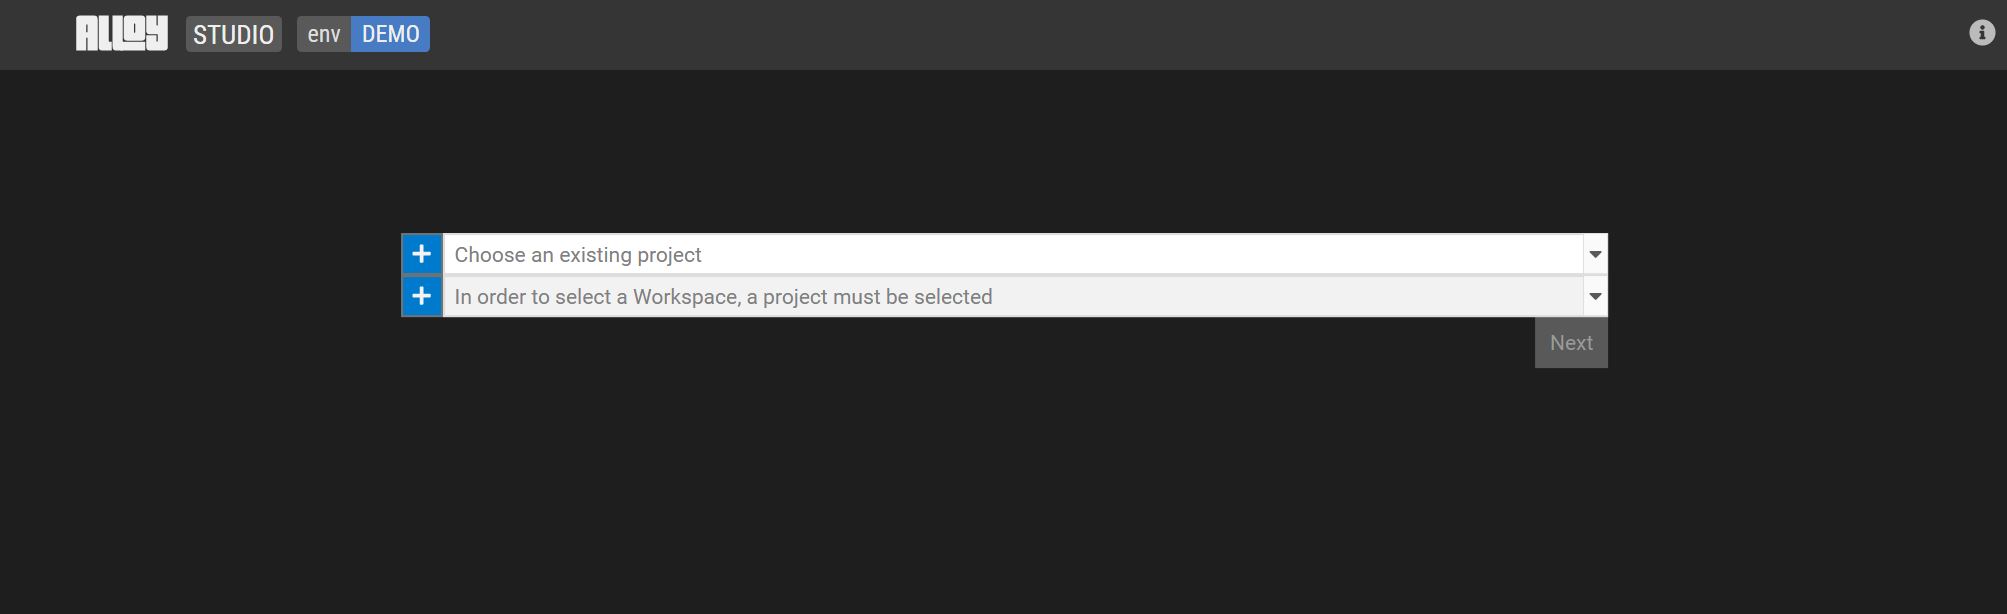
Once the project is selected or created, create (or choose) a workspace (enabling multiple users to work on the same project). Click Next.
Create a model
Define a model hierarchy
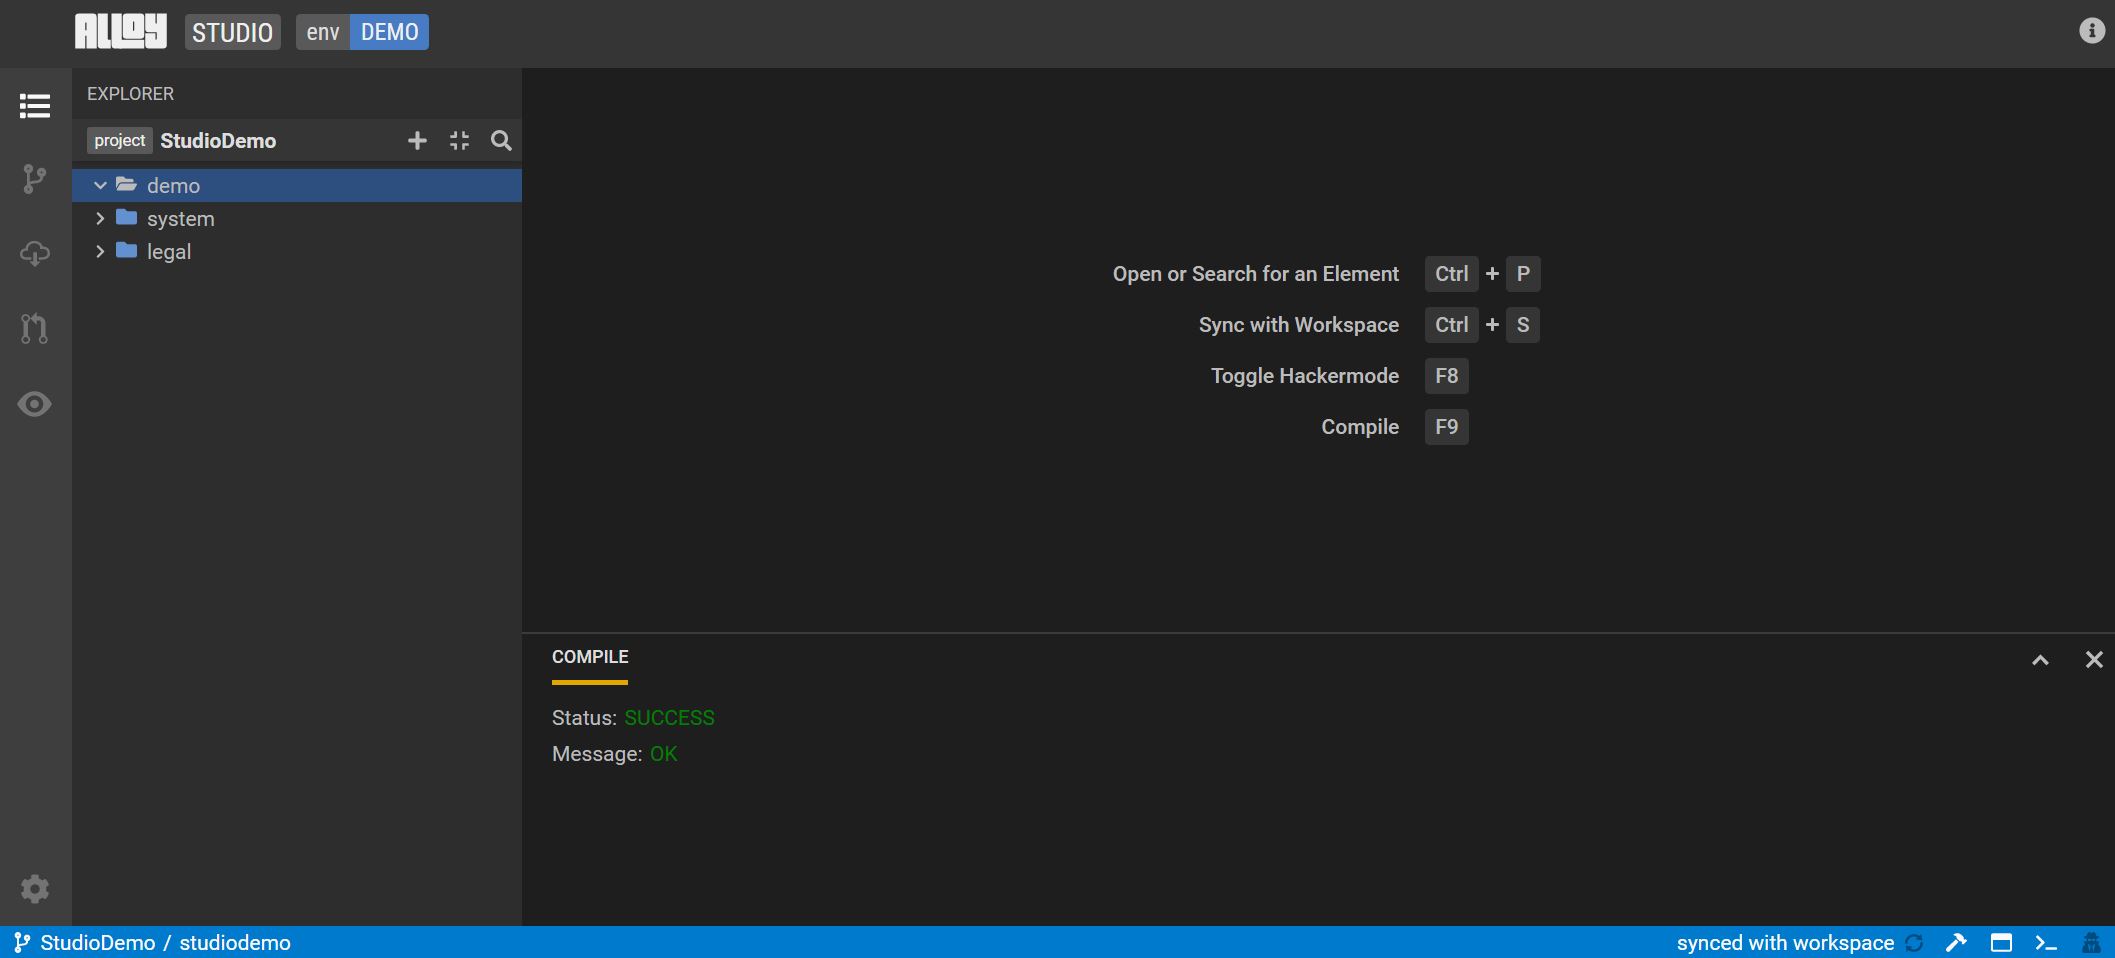
Select the + next to project and click on Add a new package to start a model hierarchy.
Define a new Class
A Class is used to define a business concept.
Select the + and click on "Add a new class". Let's create a class called Person.
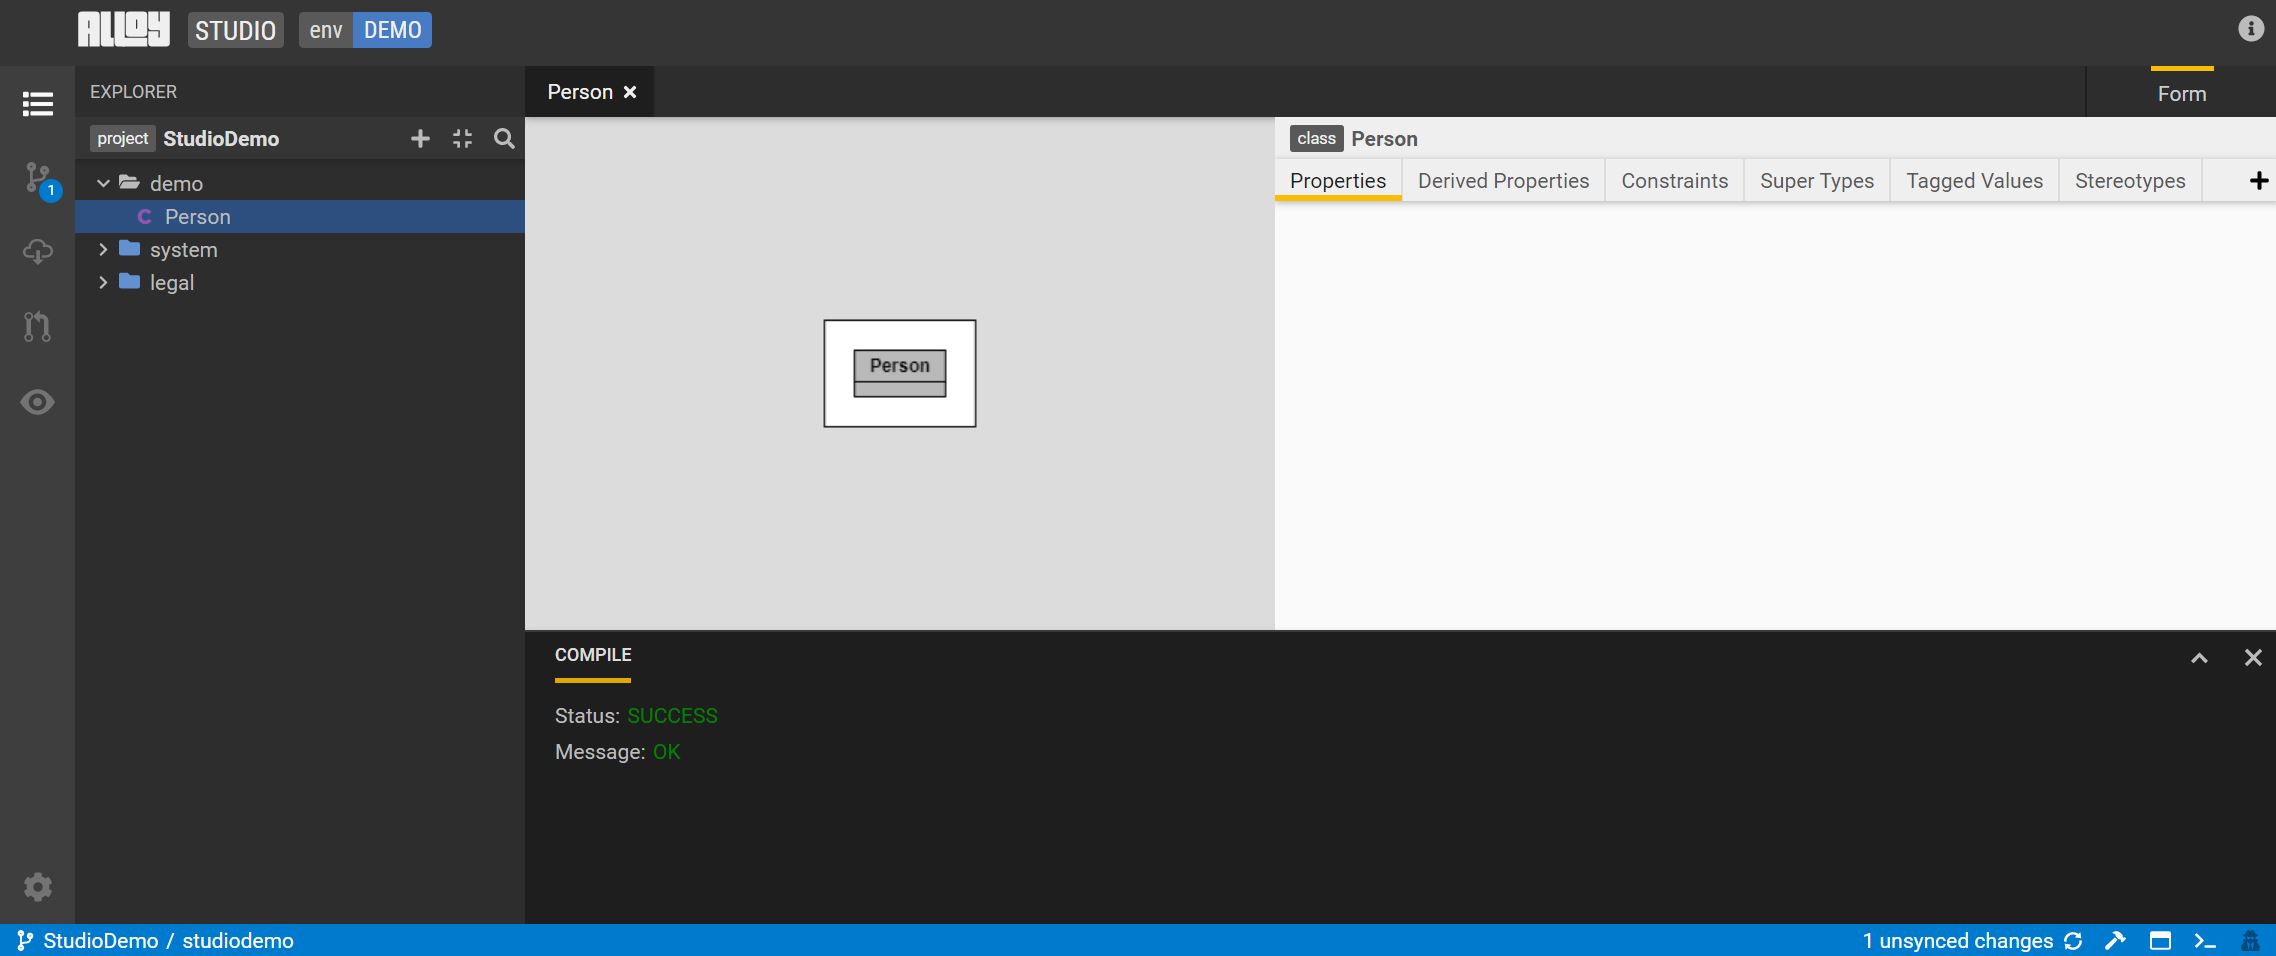
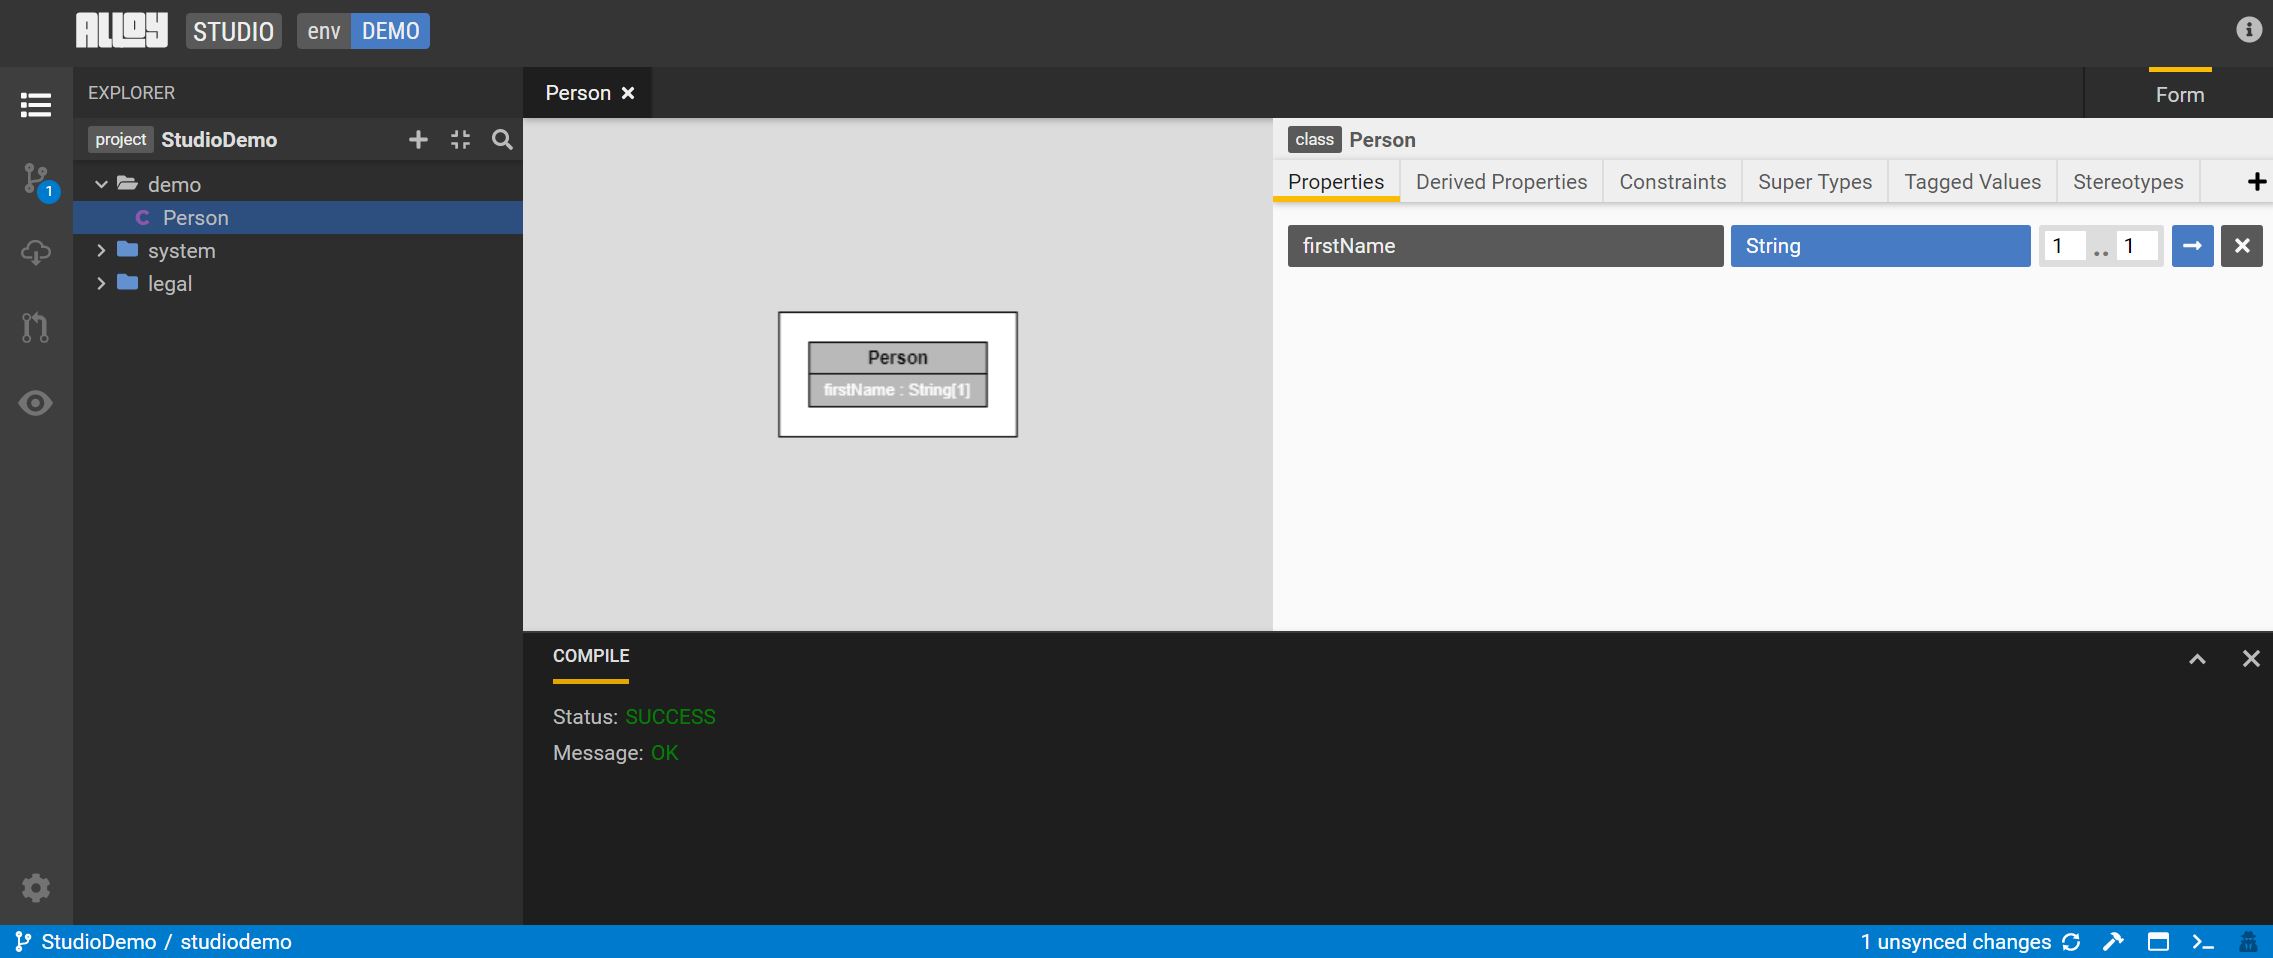
Studio displays a visualization of the class and a tabbed list of the possible model enrichments.
Add a Property (primitive data type)
Properties in a class are used to define attributes of the business concept.
Move to the Properties tab and select +. Type in the name of your property and specify the data type and cardinality.
Let's create a property called firstName of type String with cardinality of 1.
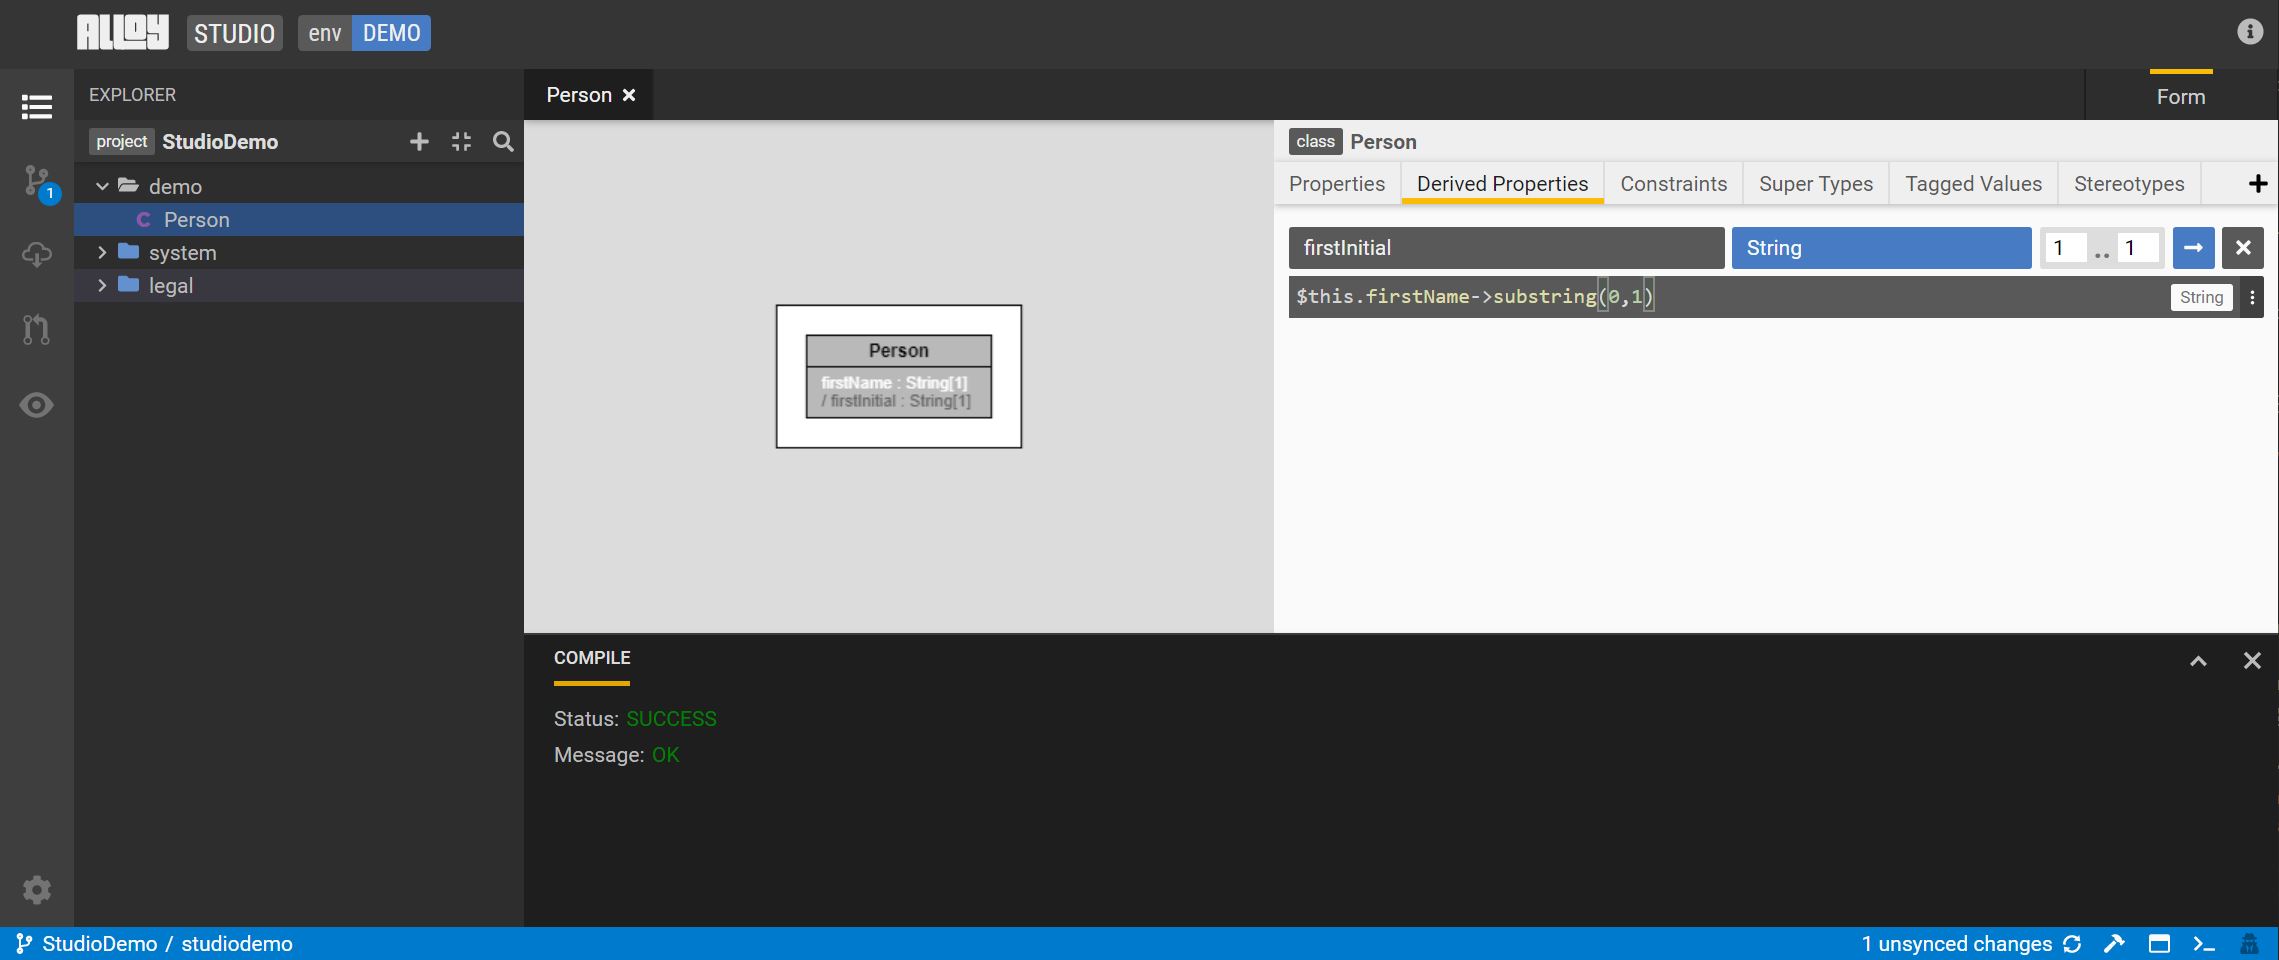
Add a Derived Property
Derived Properties are properties defined using functions that can operate on other attributes in the data model.
Move to the Derived Properties tab and select +. Type in the name of your property, the return data type and cardinality. Then type in the expression.
Let's add a qualified property called firstInitial using the following expression - $this.name->substring(0,1). Select a return data type of String and cardinality of 1. Hit F9 to compile the expression.
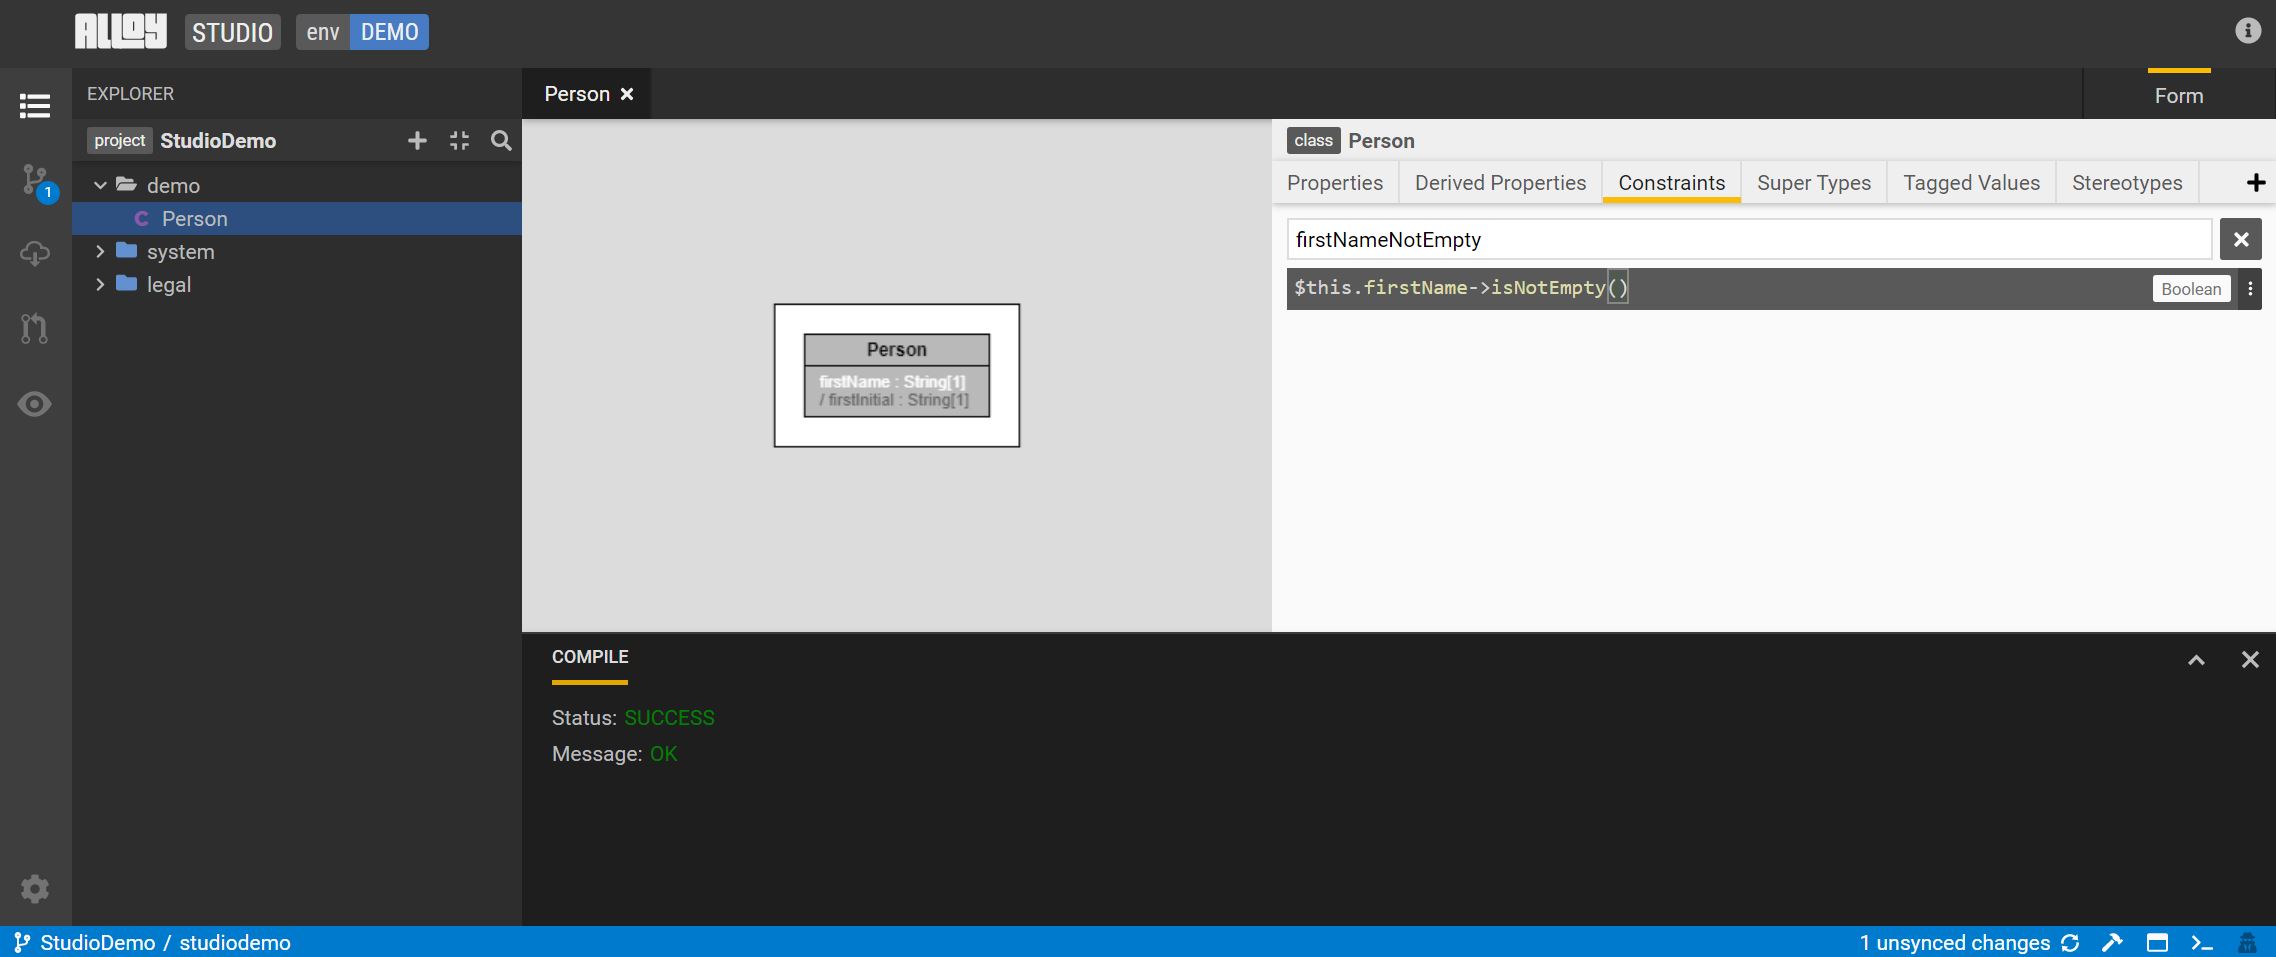
Add a Constraint
Constraints can be used to define a validation or condition on the model that is expected to be met. The return type for a constraint is Boolean.
Move to the Constraints tab and select +. Type in a name for the constraint and the expression.
Let's add a constraint called firstNameNotEmpty defined by the following expression - $this.firstName->isNotEmpty(). Hit F9 to compile the expression.
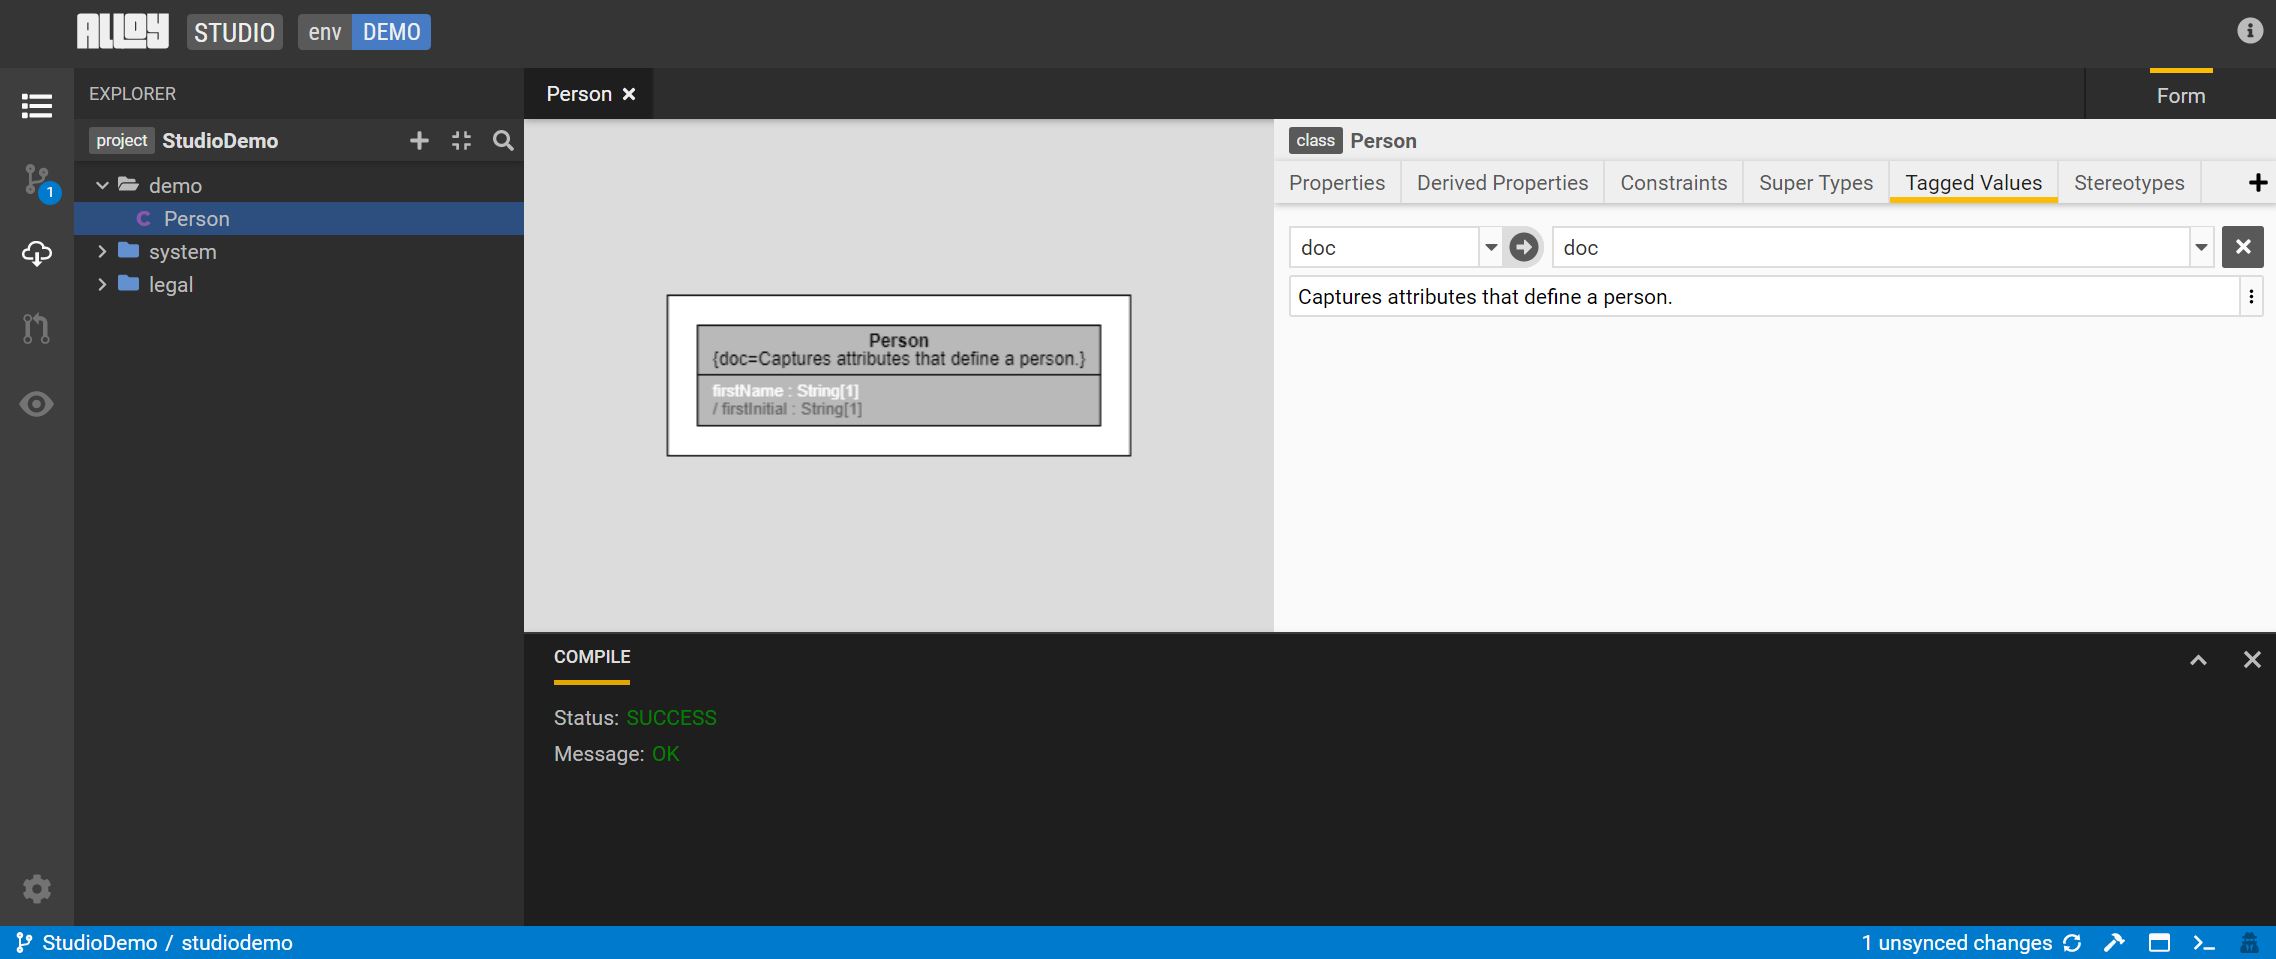
Add a Tagged Value
One type of tagged value is doc. The doc tag provides the ability to describe the Class.
Let's add a doc to describe the Person class.
Add a StereoType
Move to the StereoType tab and select +.
Let's add a stereotype of type access and a value of public.

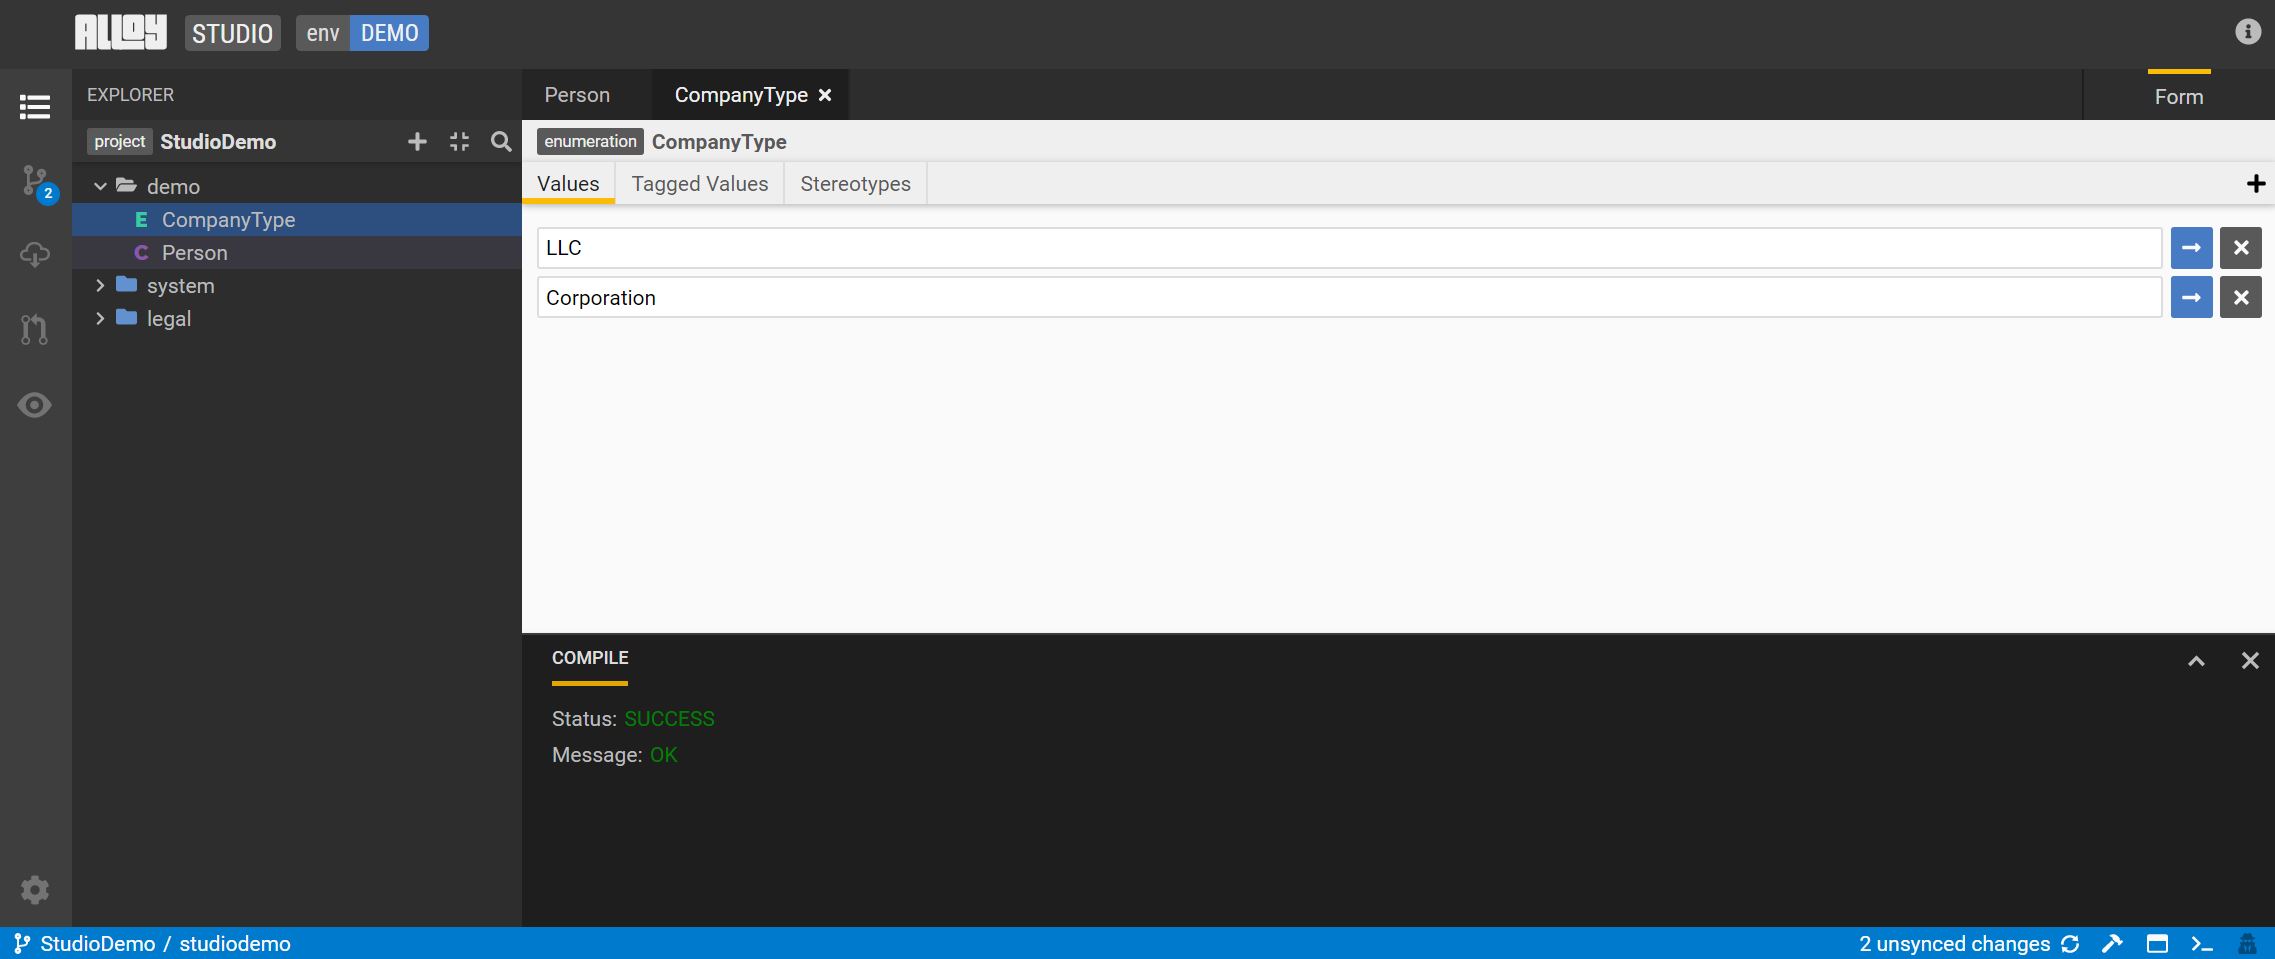
Create and add an Enumeration
A model attribute that has a finite list of values can be defined with an enumeration.
Select the + on the left hand side and pick Add an enumeration.
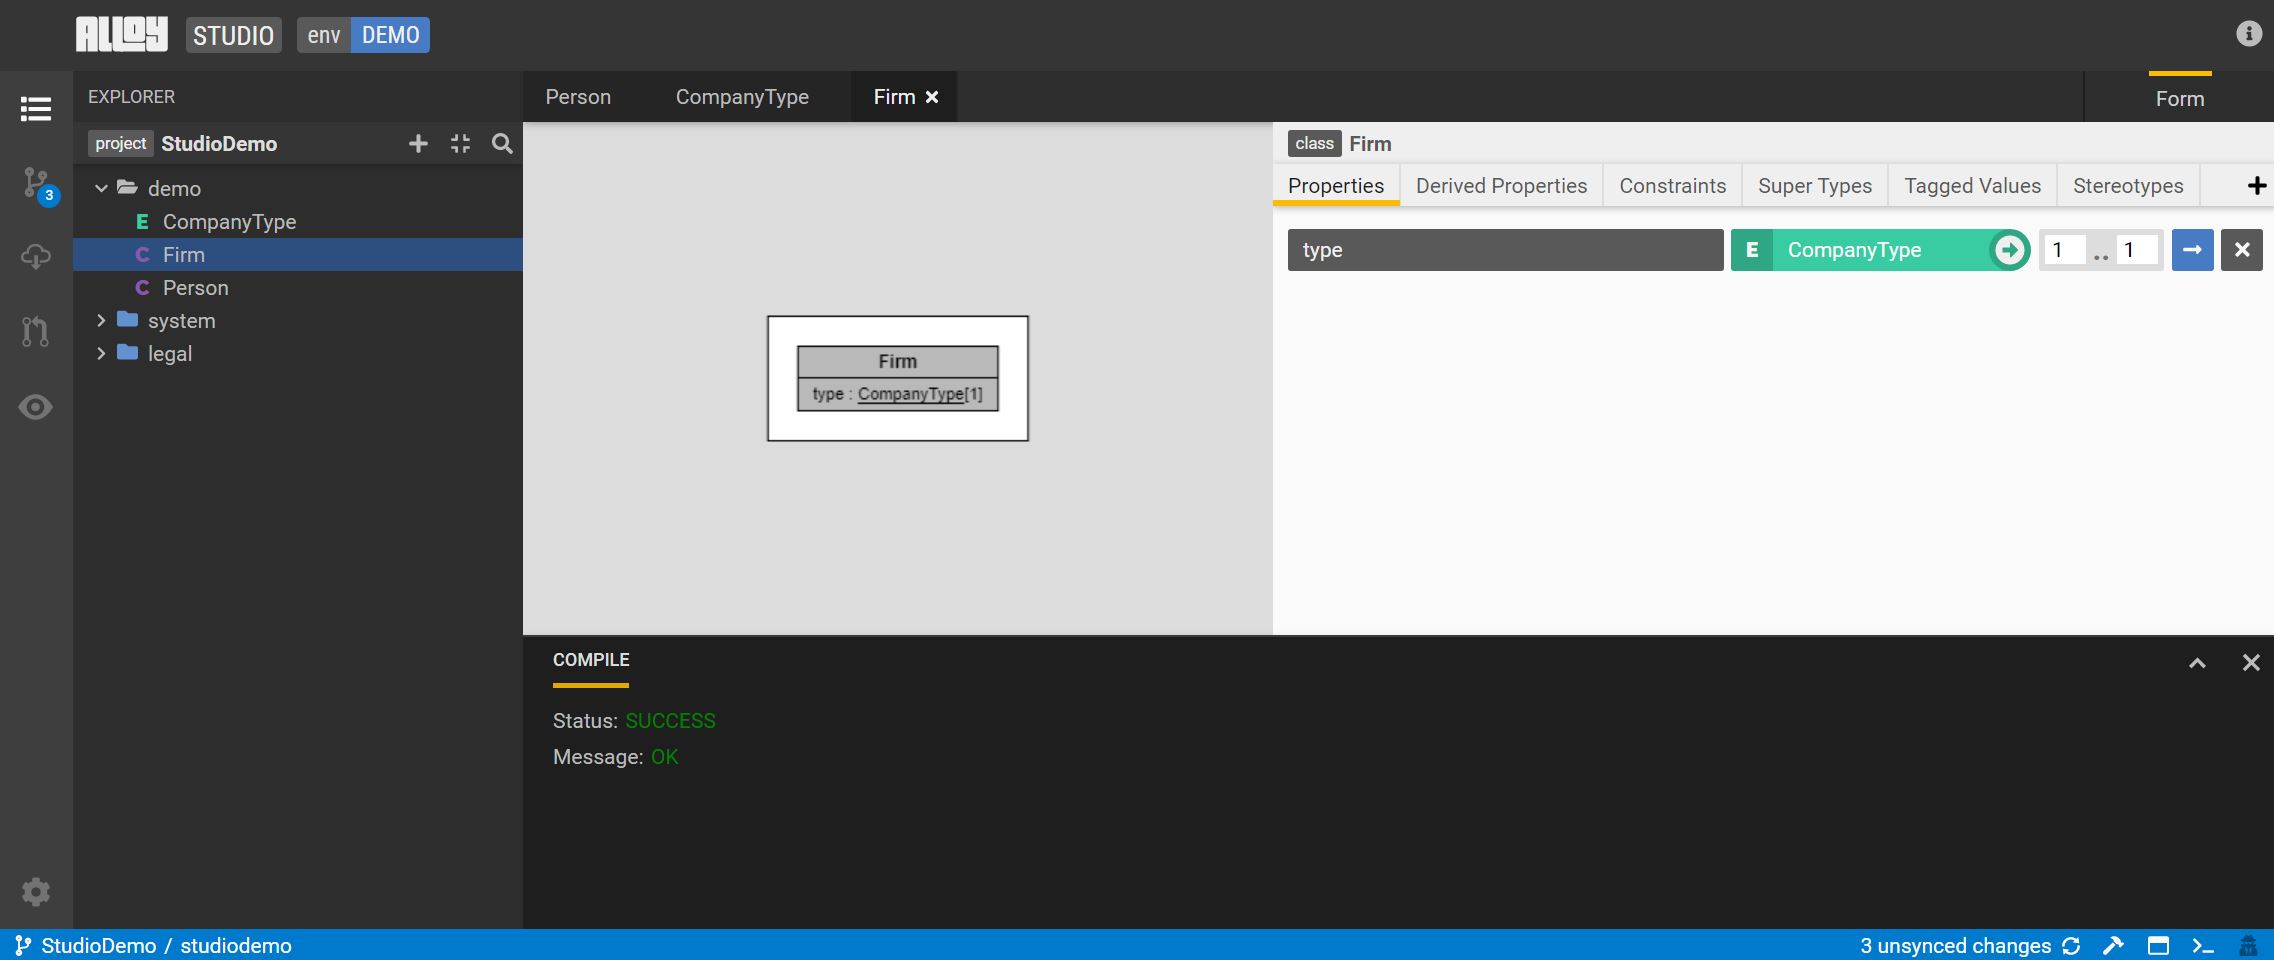
Let's create a enumeration called CompanyType with the values LLC and Corporation.
Create a new class called Firm with a property named type. Select CompanyType for the type of property and a cardinality of 1.
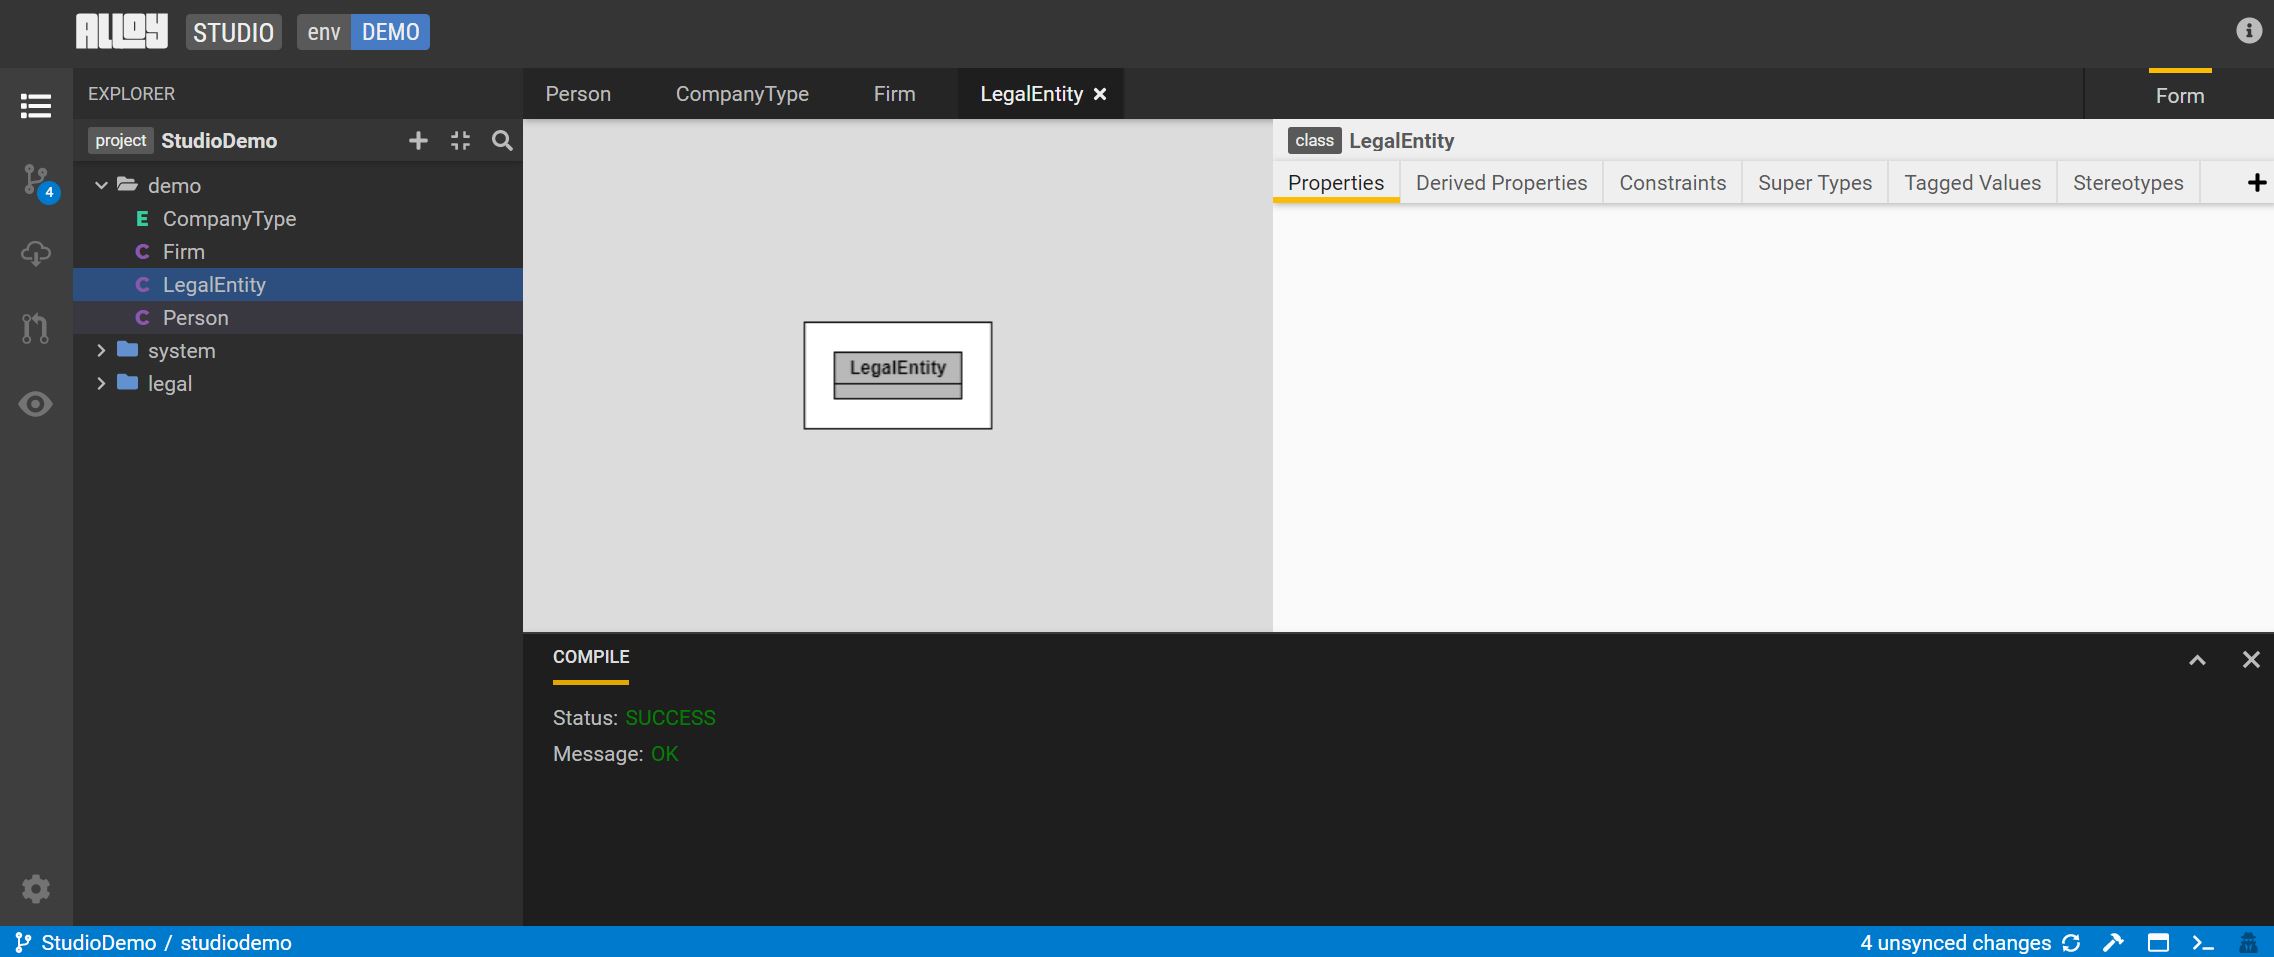
Add a Super Type
Add a Super Type to the model to show a relationship between classes or business concepts.
Let's create a new Class called LegalEntity.
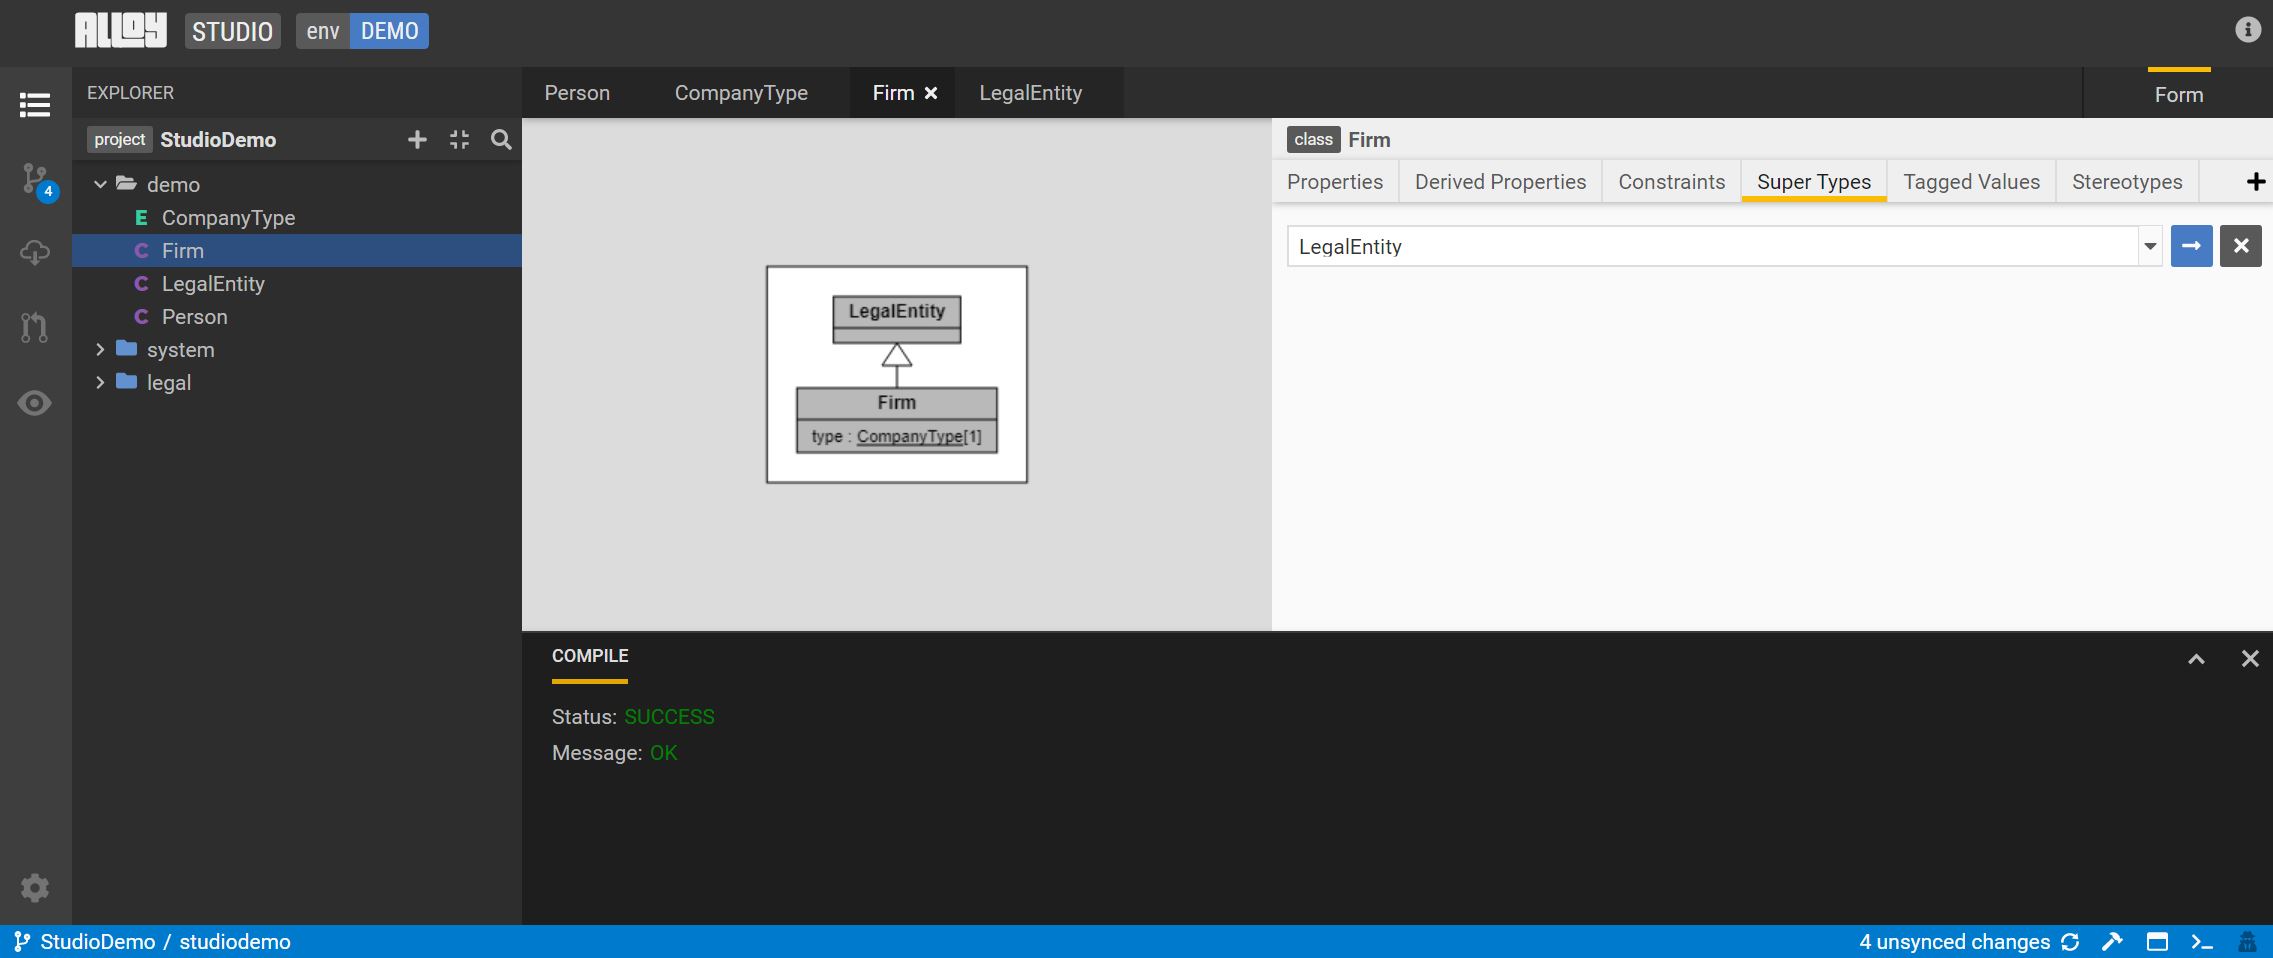
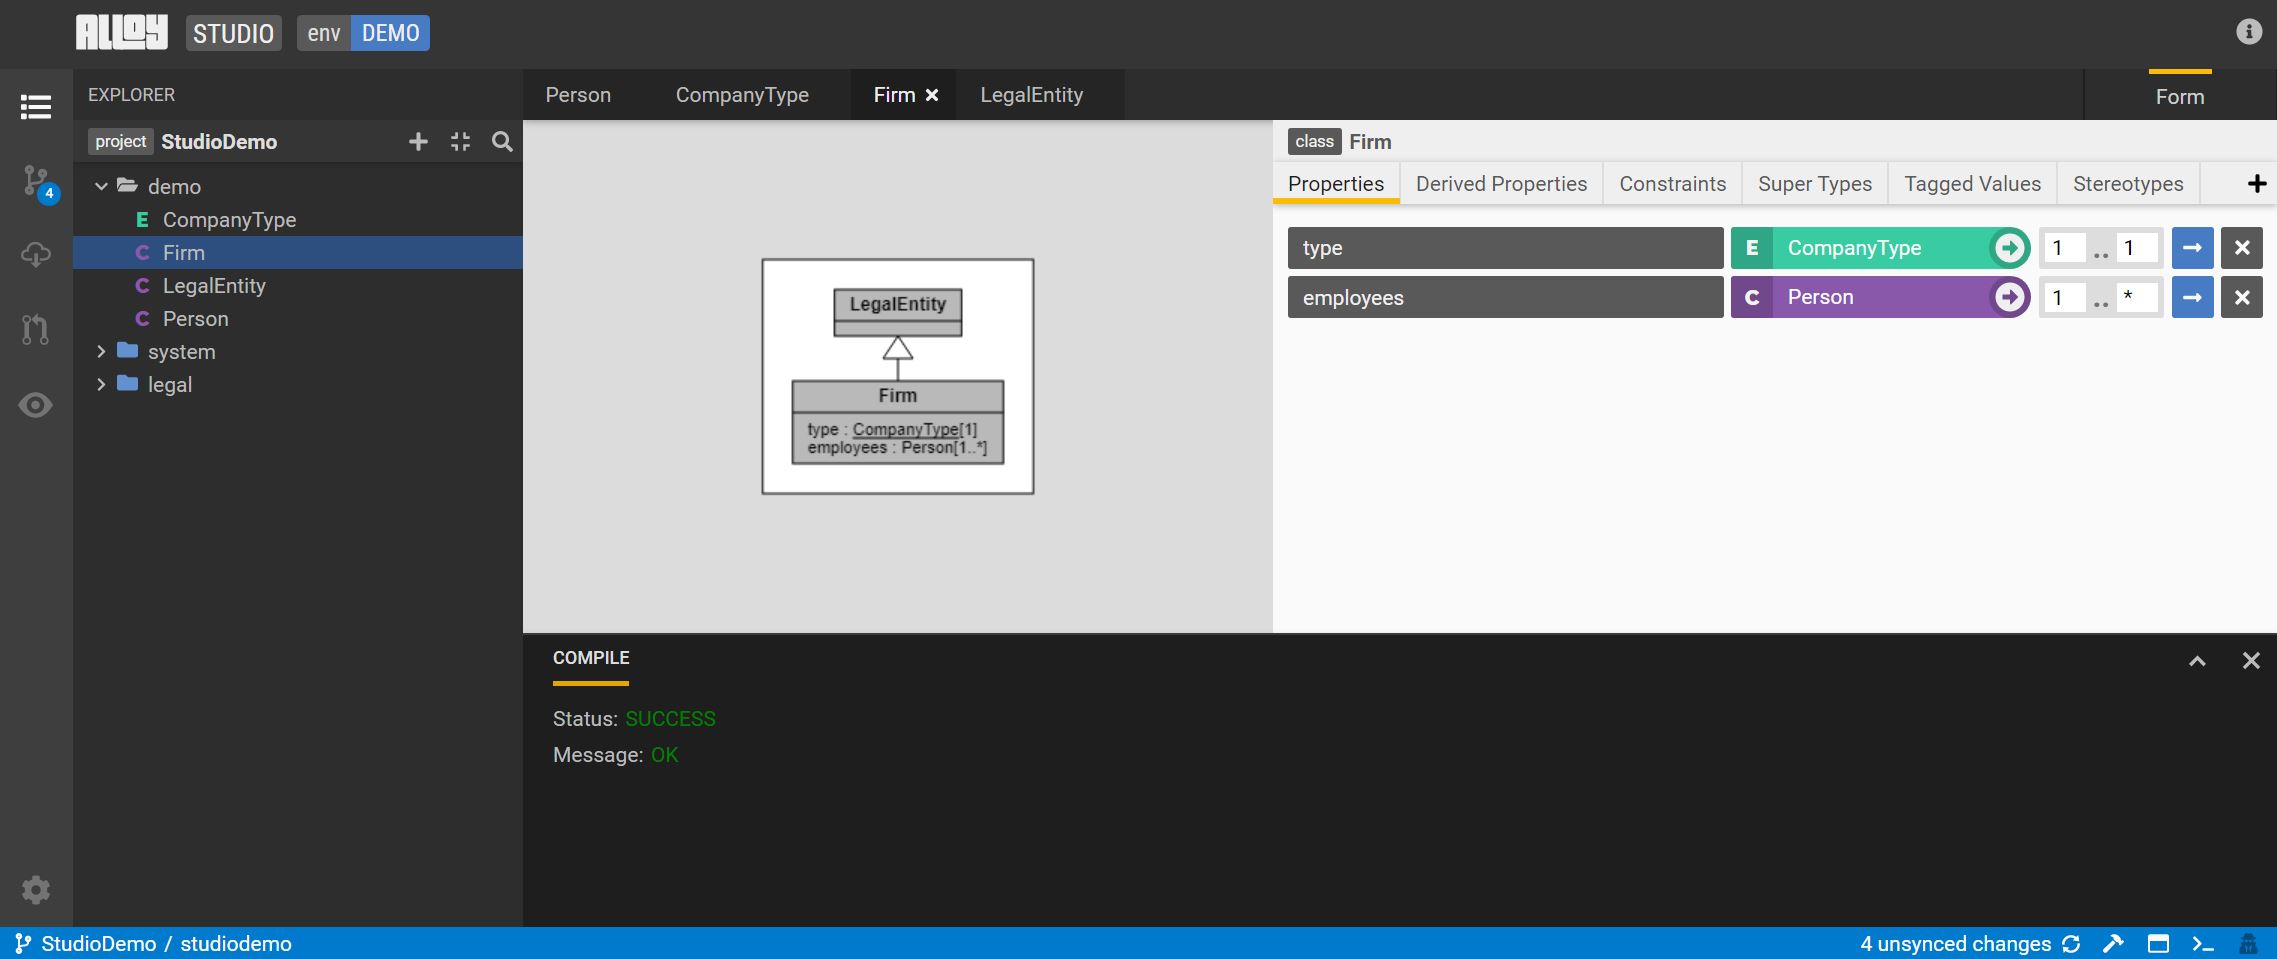
Moving back to the Firm class, go to the Super Types tab and select +. Select the LegalEntity class from the dropdown.
The model visualization on the left now shows the LegalEntity class as a super type of Firm.
Add a Property (non-primitive data type)
Create a relationship between the Person and Firm classes.
In the Firm class, create a property of with a name of employees of type Person with cardinality of 1..*.
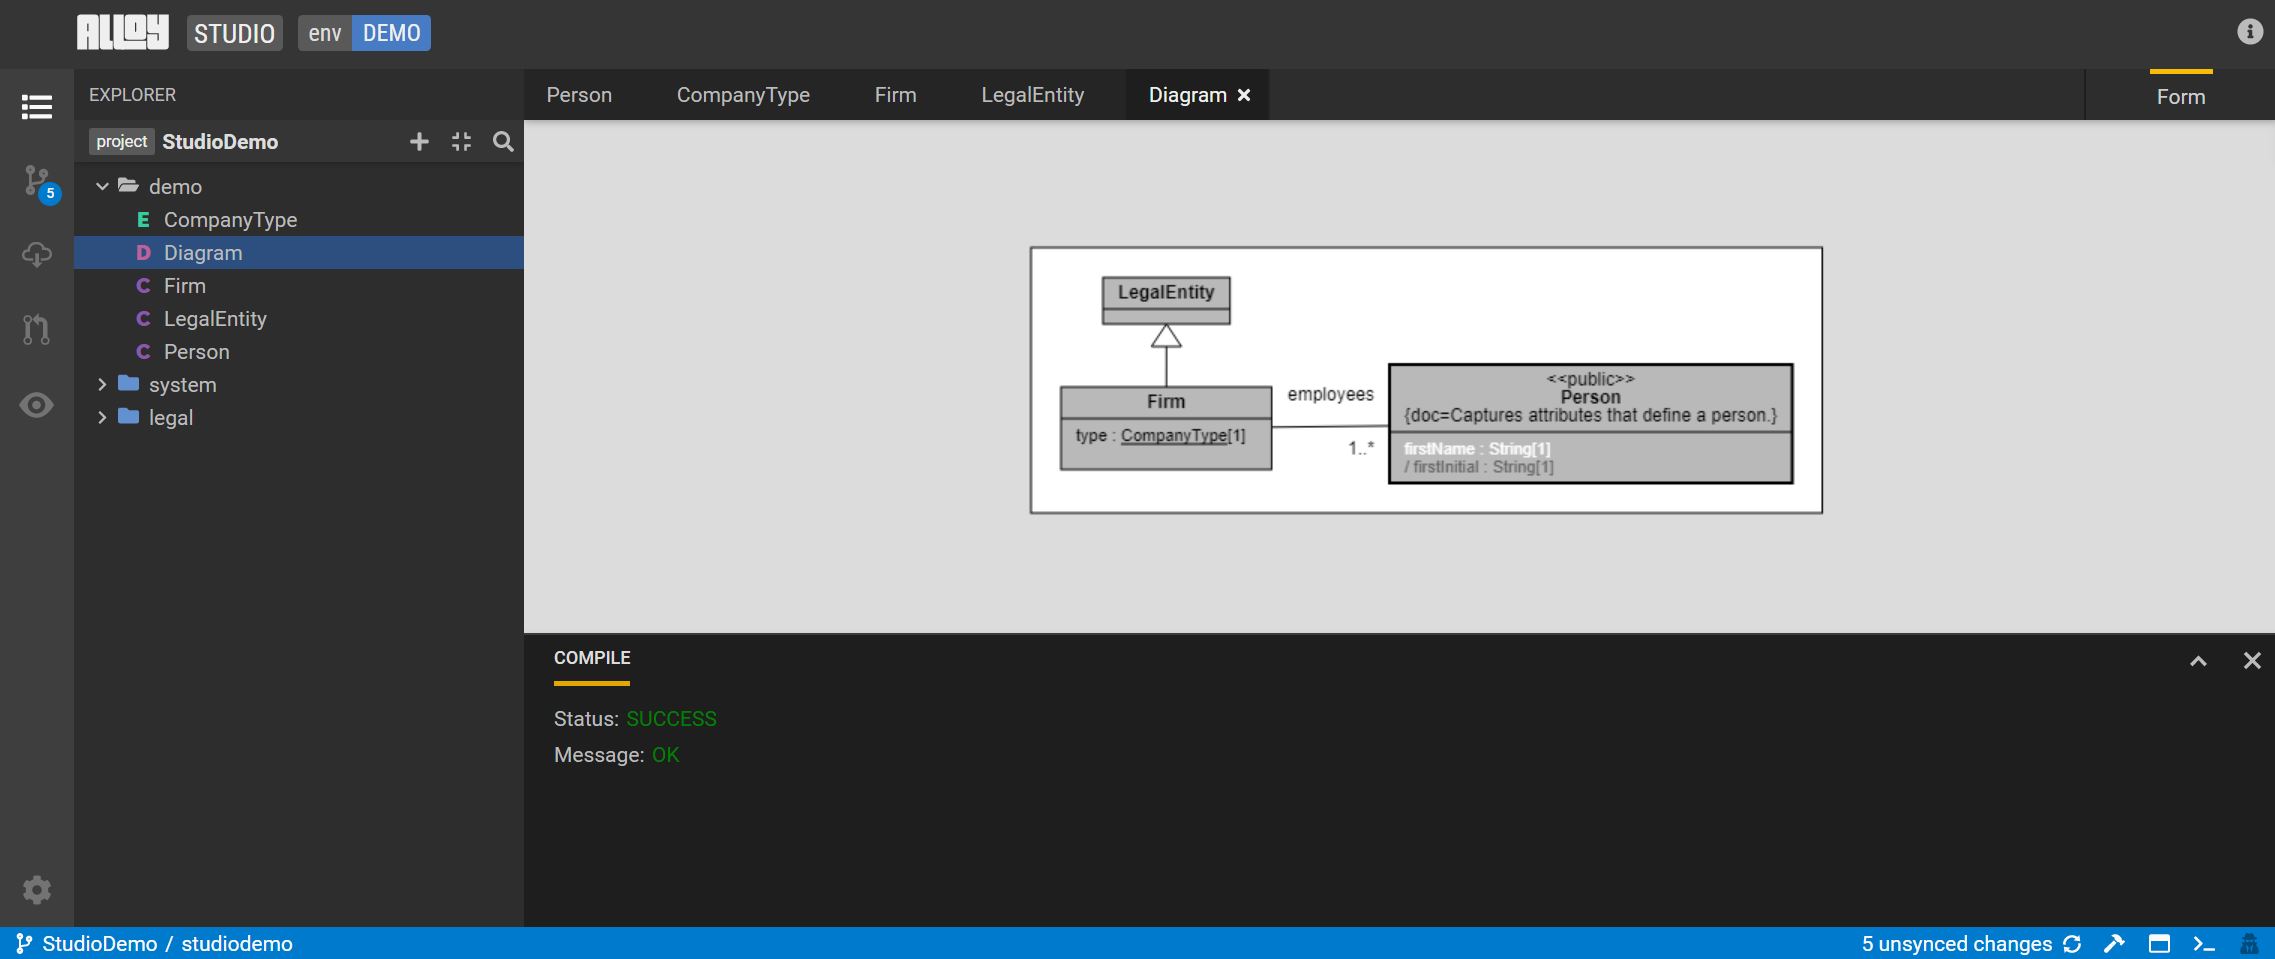
Create a Diagram
Create a model diagram to show the relationships across the businss concepts.
Select the + on the left hand side and pick Add a new diagram. From the Explorer view, select and drag the Firm and Person classes at a time to the diagram.
Share this diagram to describe to share data and it's relationships.
Edit the model in Alloy language text editor view
To view the model in the language text editor view, hit F8 or select the icon on the far right on the status bar.
Refer to the Alloy language guide for more information on the Alloy language.

Create a Model-to-Model Mapping
Create a model transformation using a model-to-model mapping.
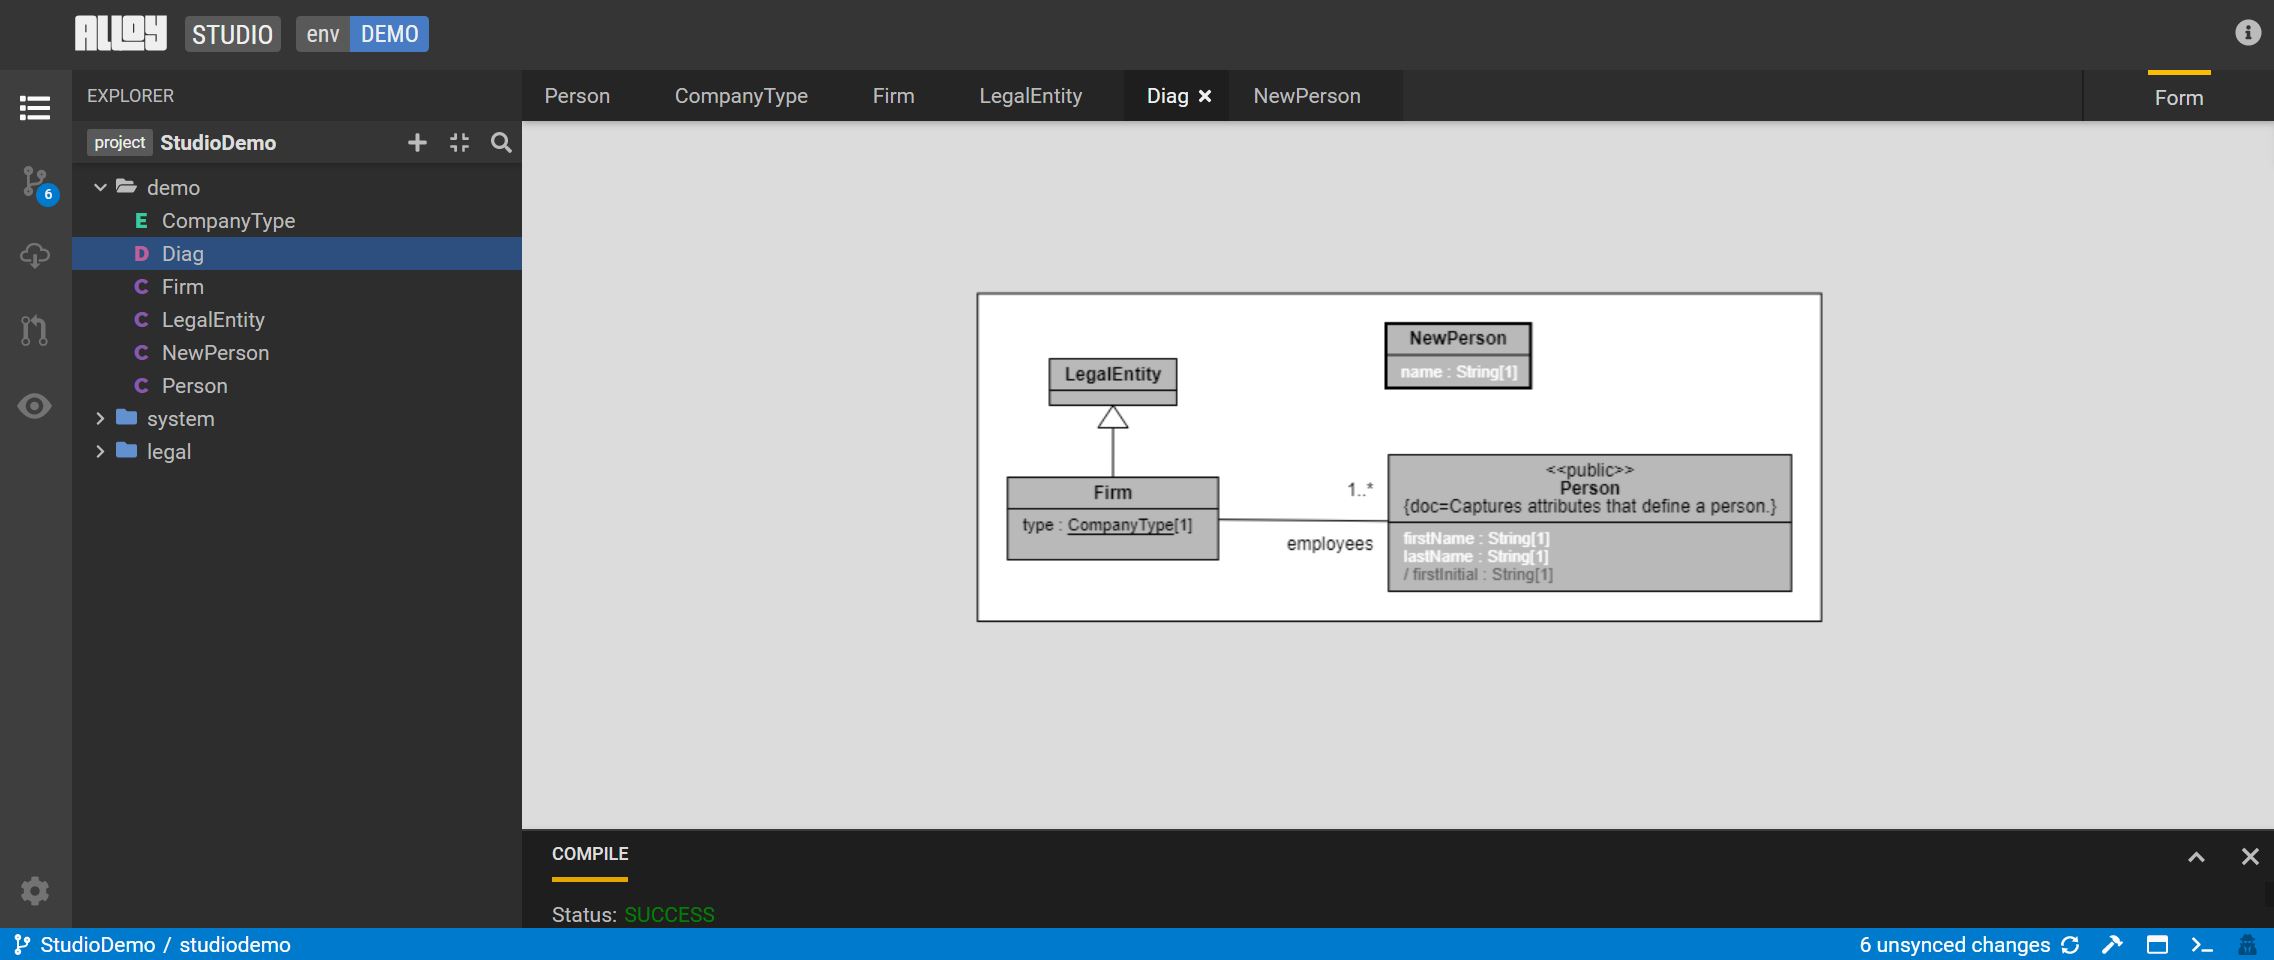
First, add a property called lastName to Person of type String with a cardinality of 1. Next, create a new class called NewPerson. Add a property to NewPerson called name of type String and a cardinality of 1.
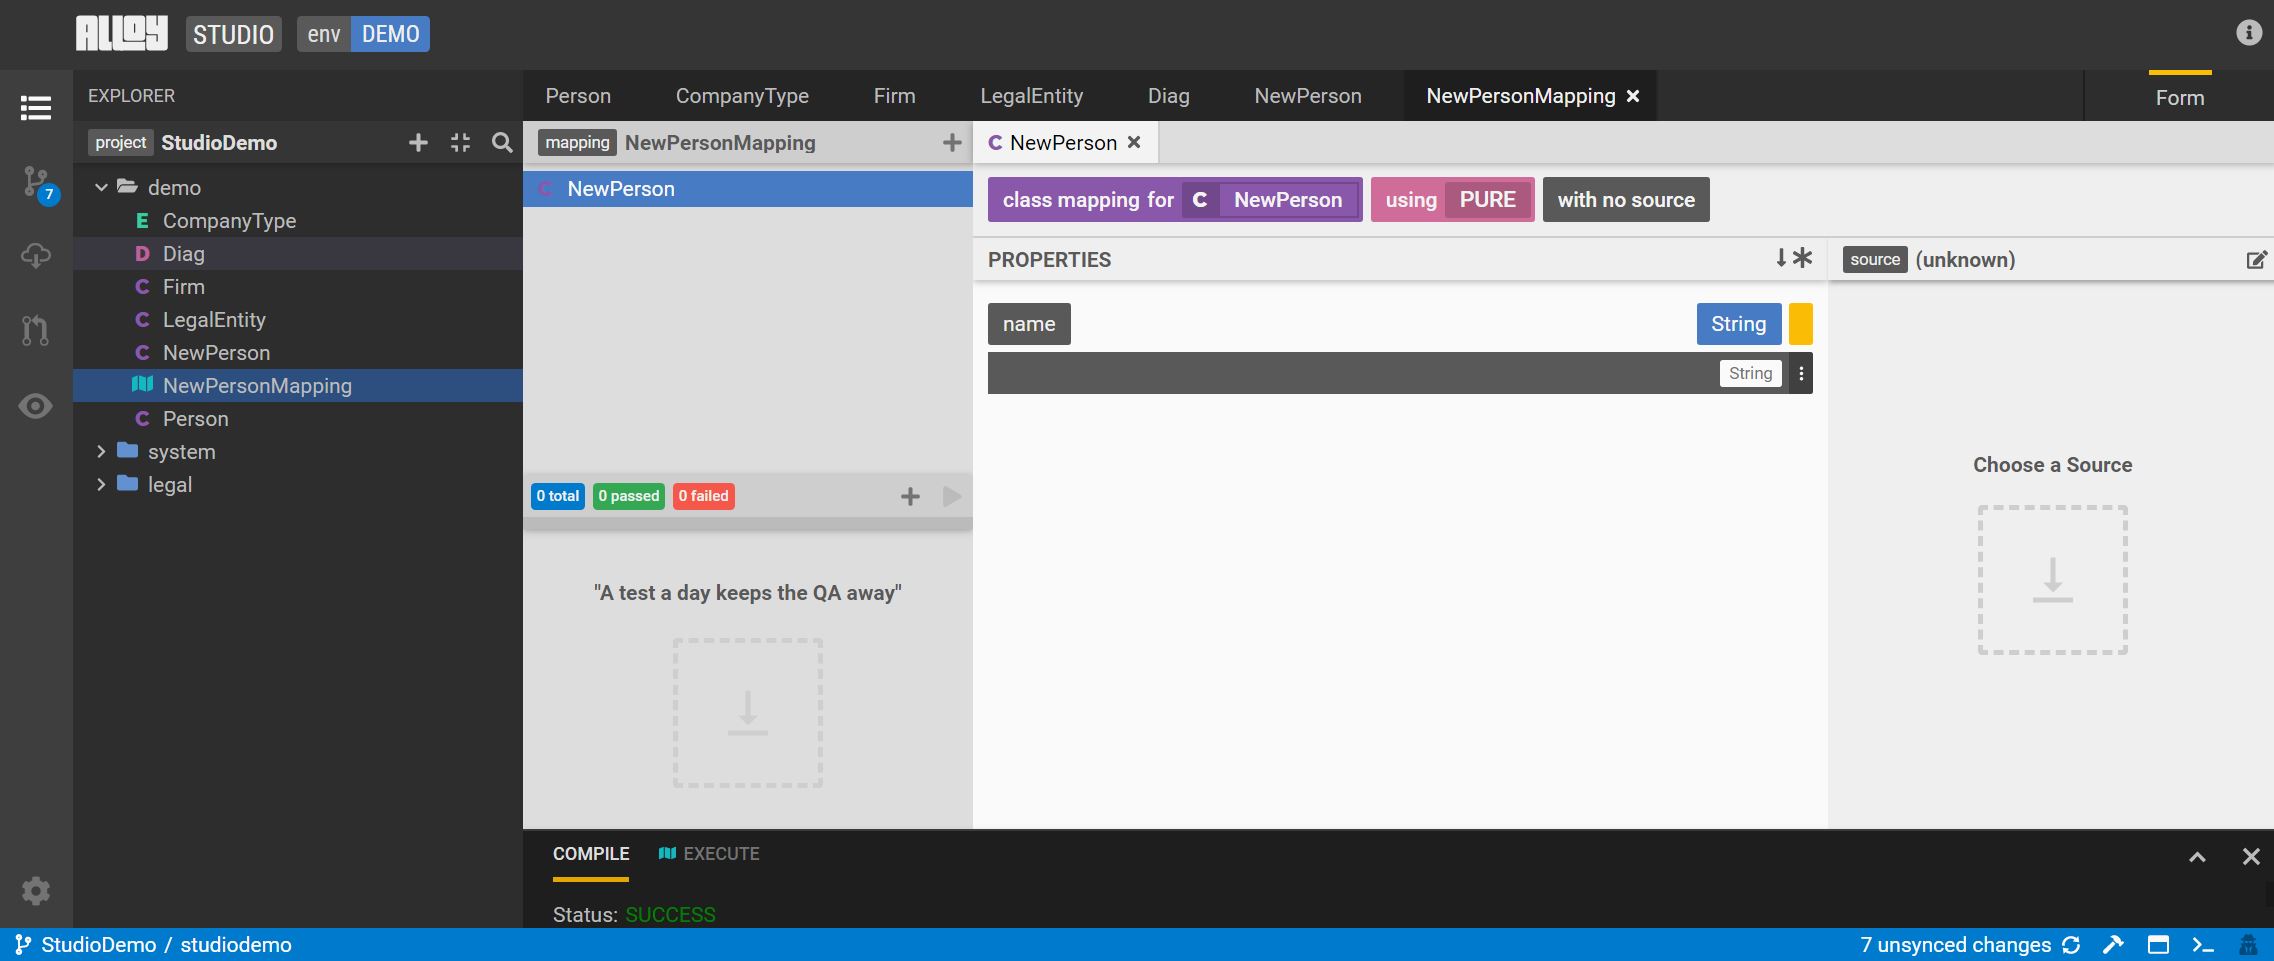
Select the + next to project and select Add a new mapping to create a new mapping called NewPersonMapping.
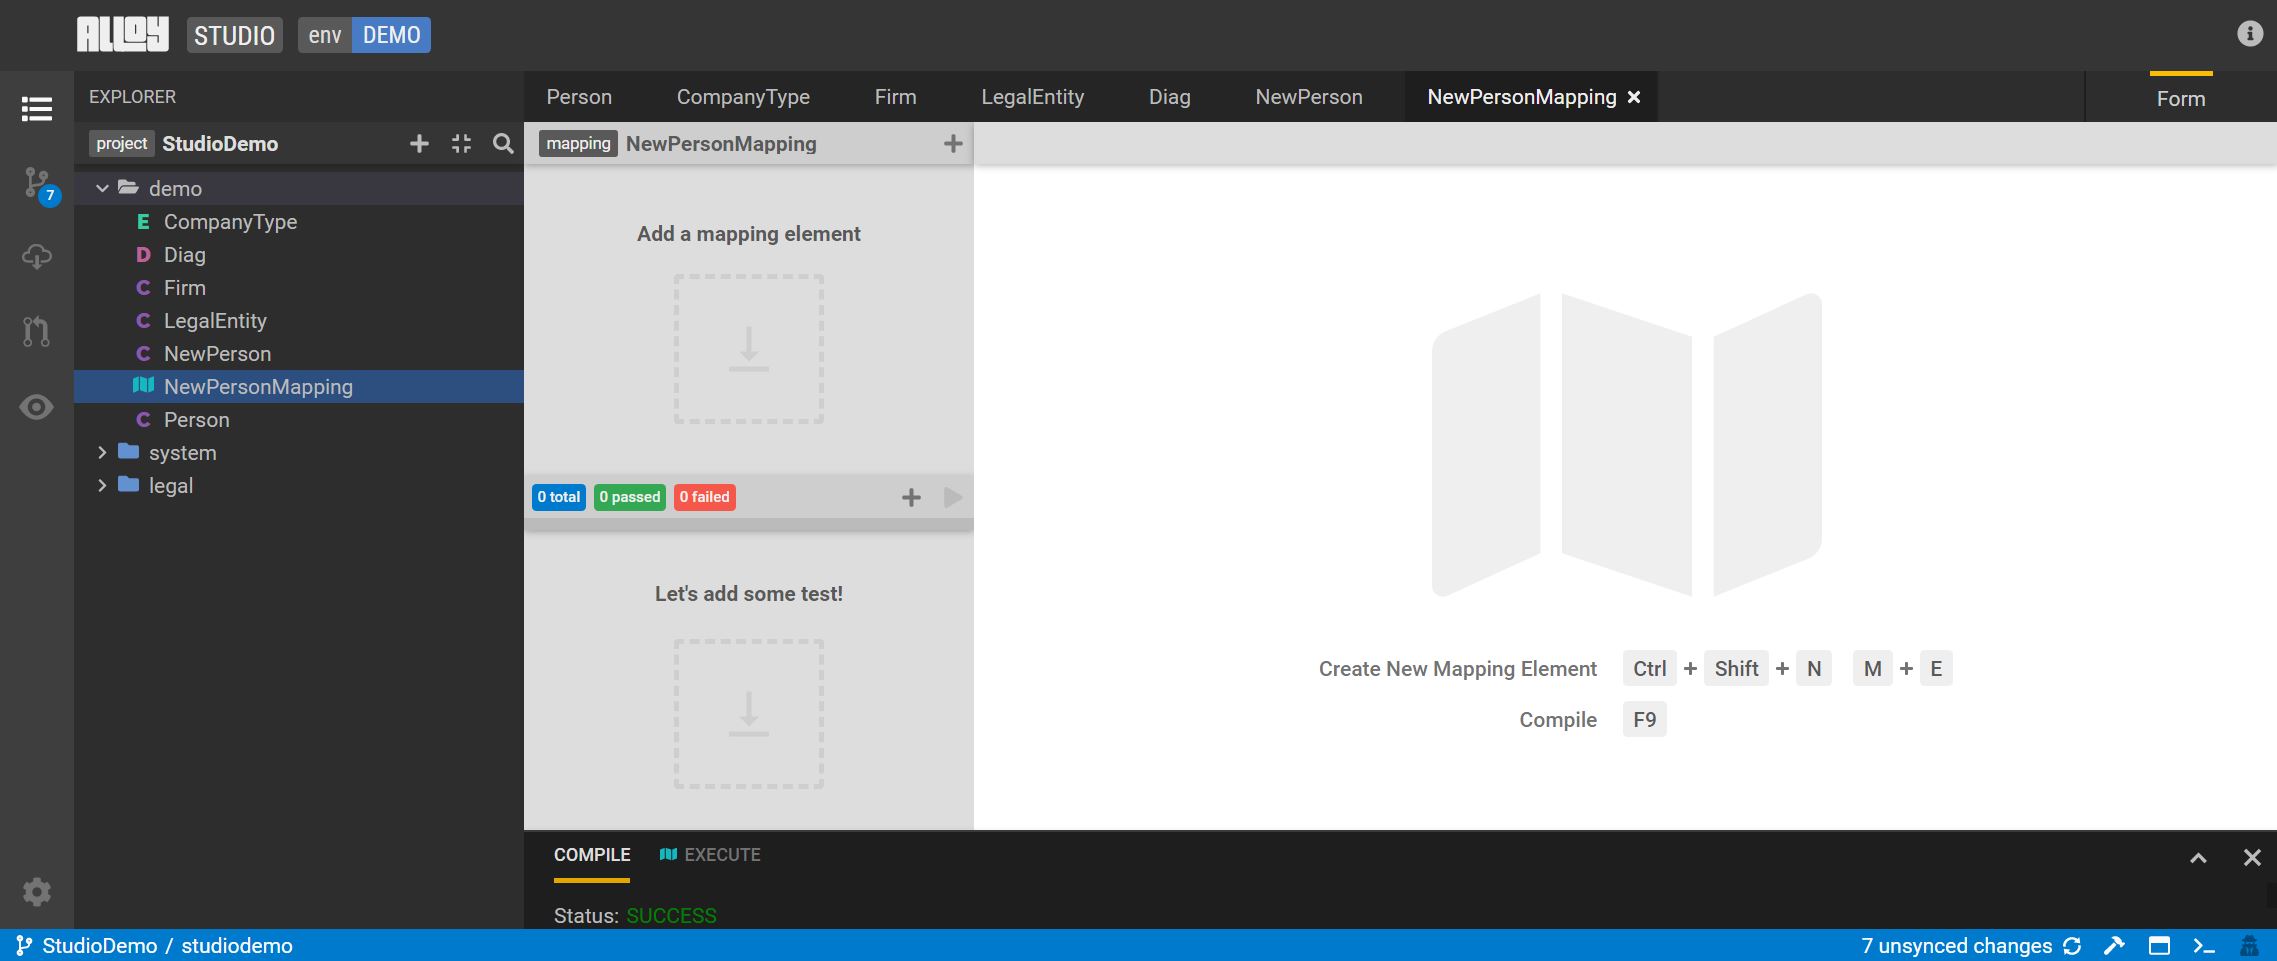
To select the target class for the mapping, drag and drop the NewPerson class into the Add a mapping element section. Select a mapping element type of Pure.
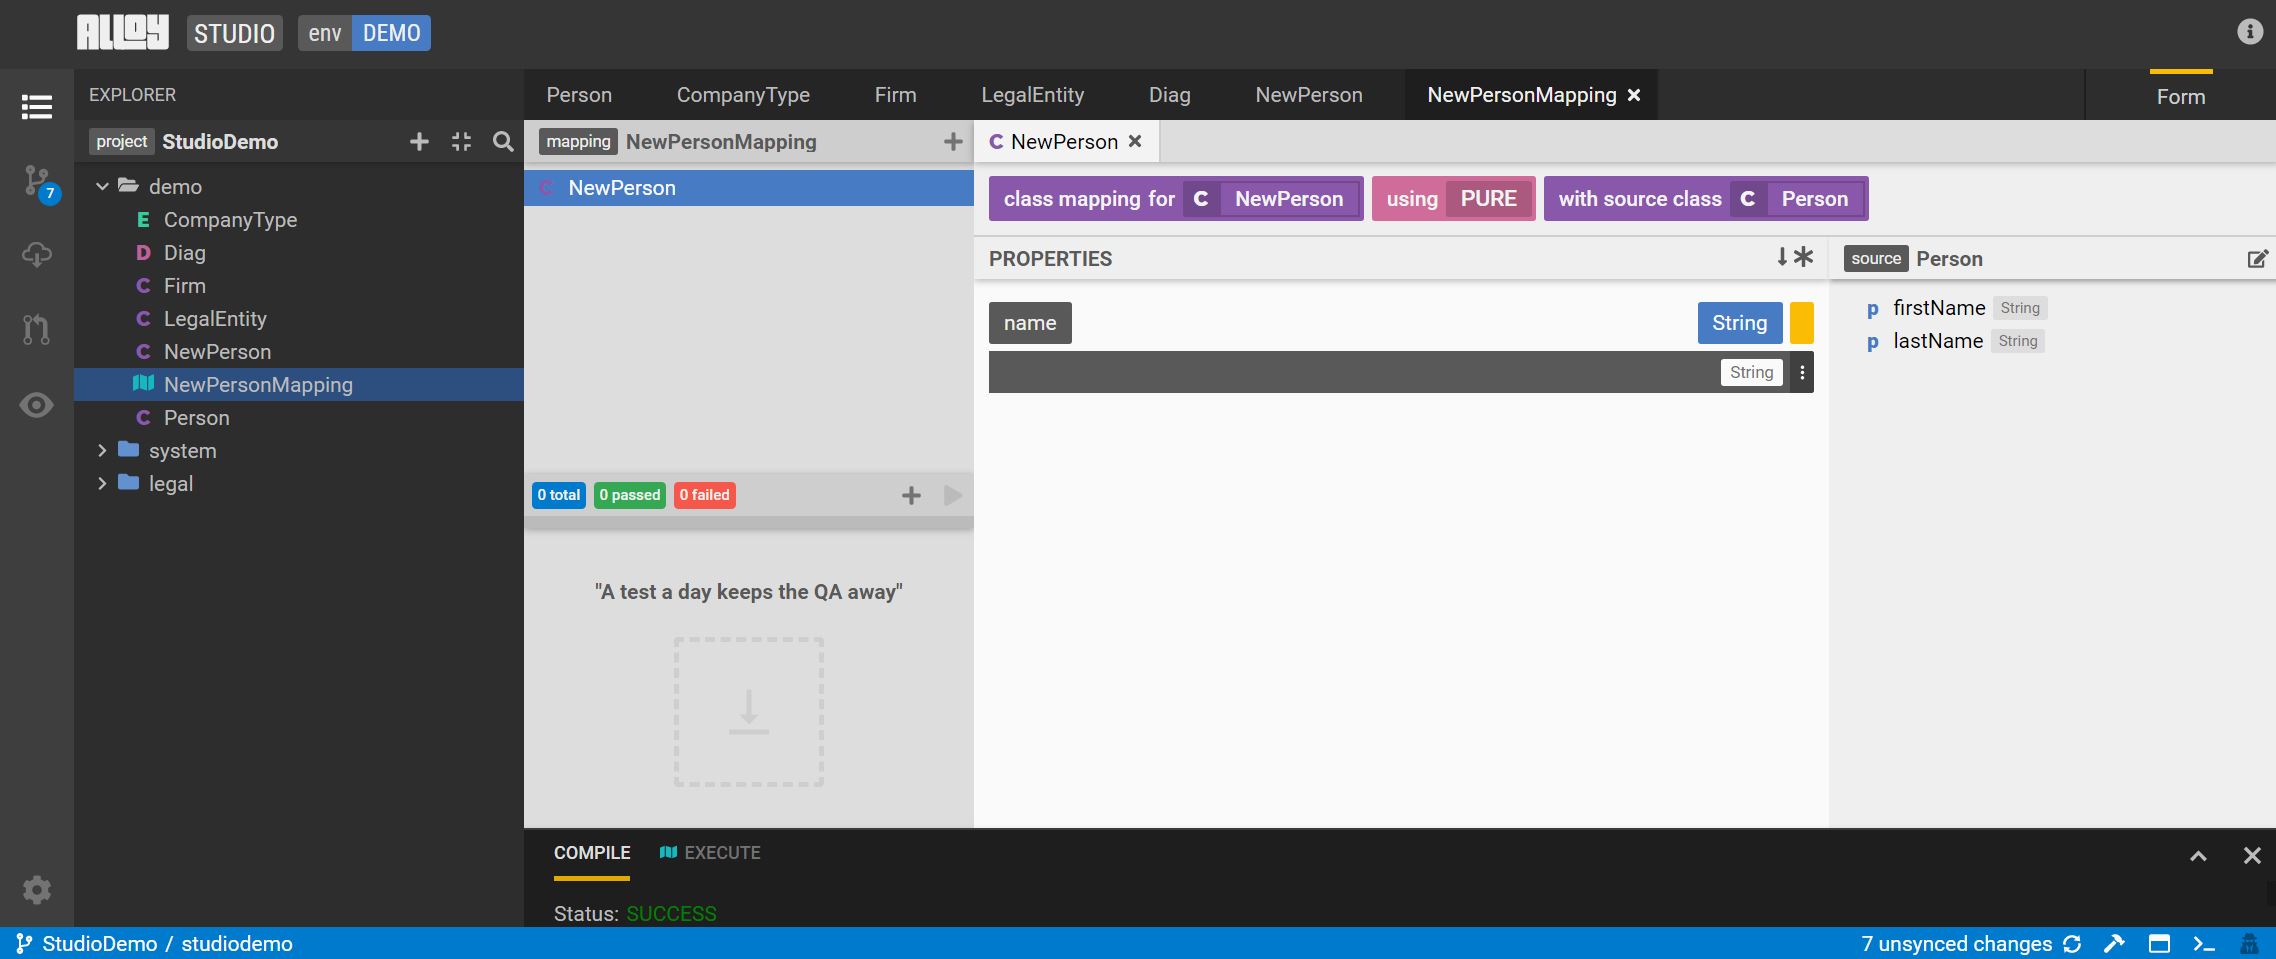
Next select the source class - click on the edit icon and select the Person class.
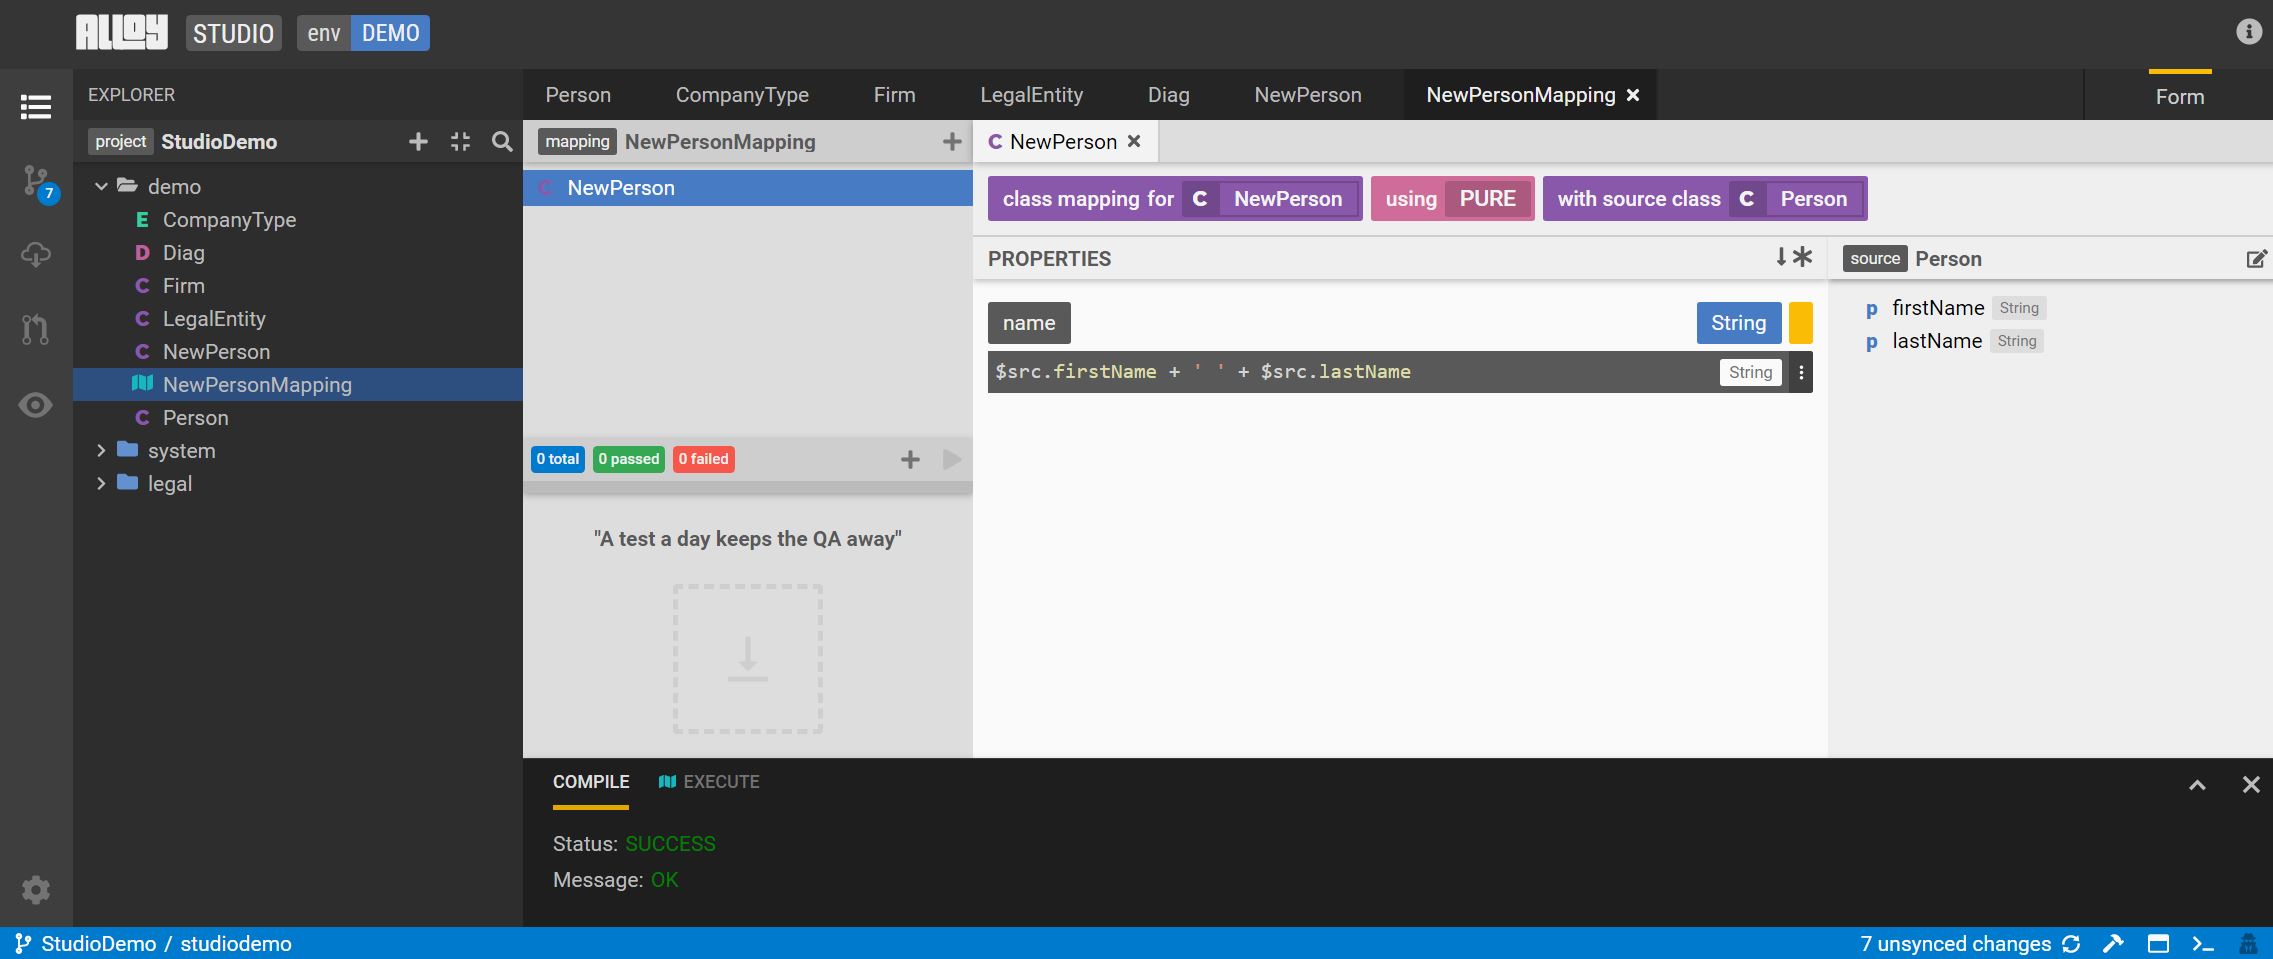
Add the following expression for the name property - $src.firstName + ' ' + $src.lastName.
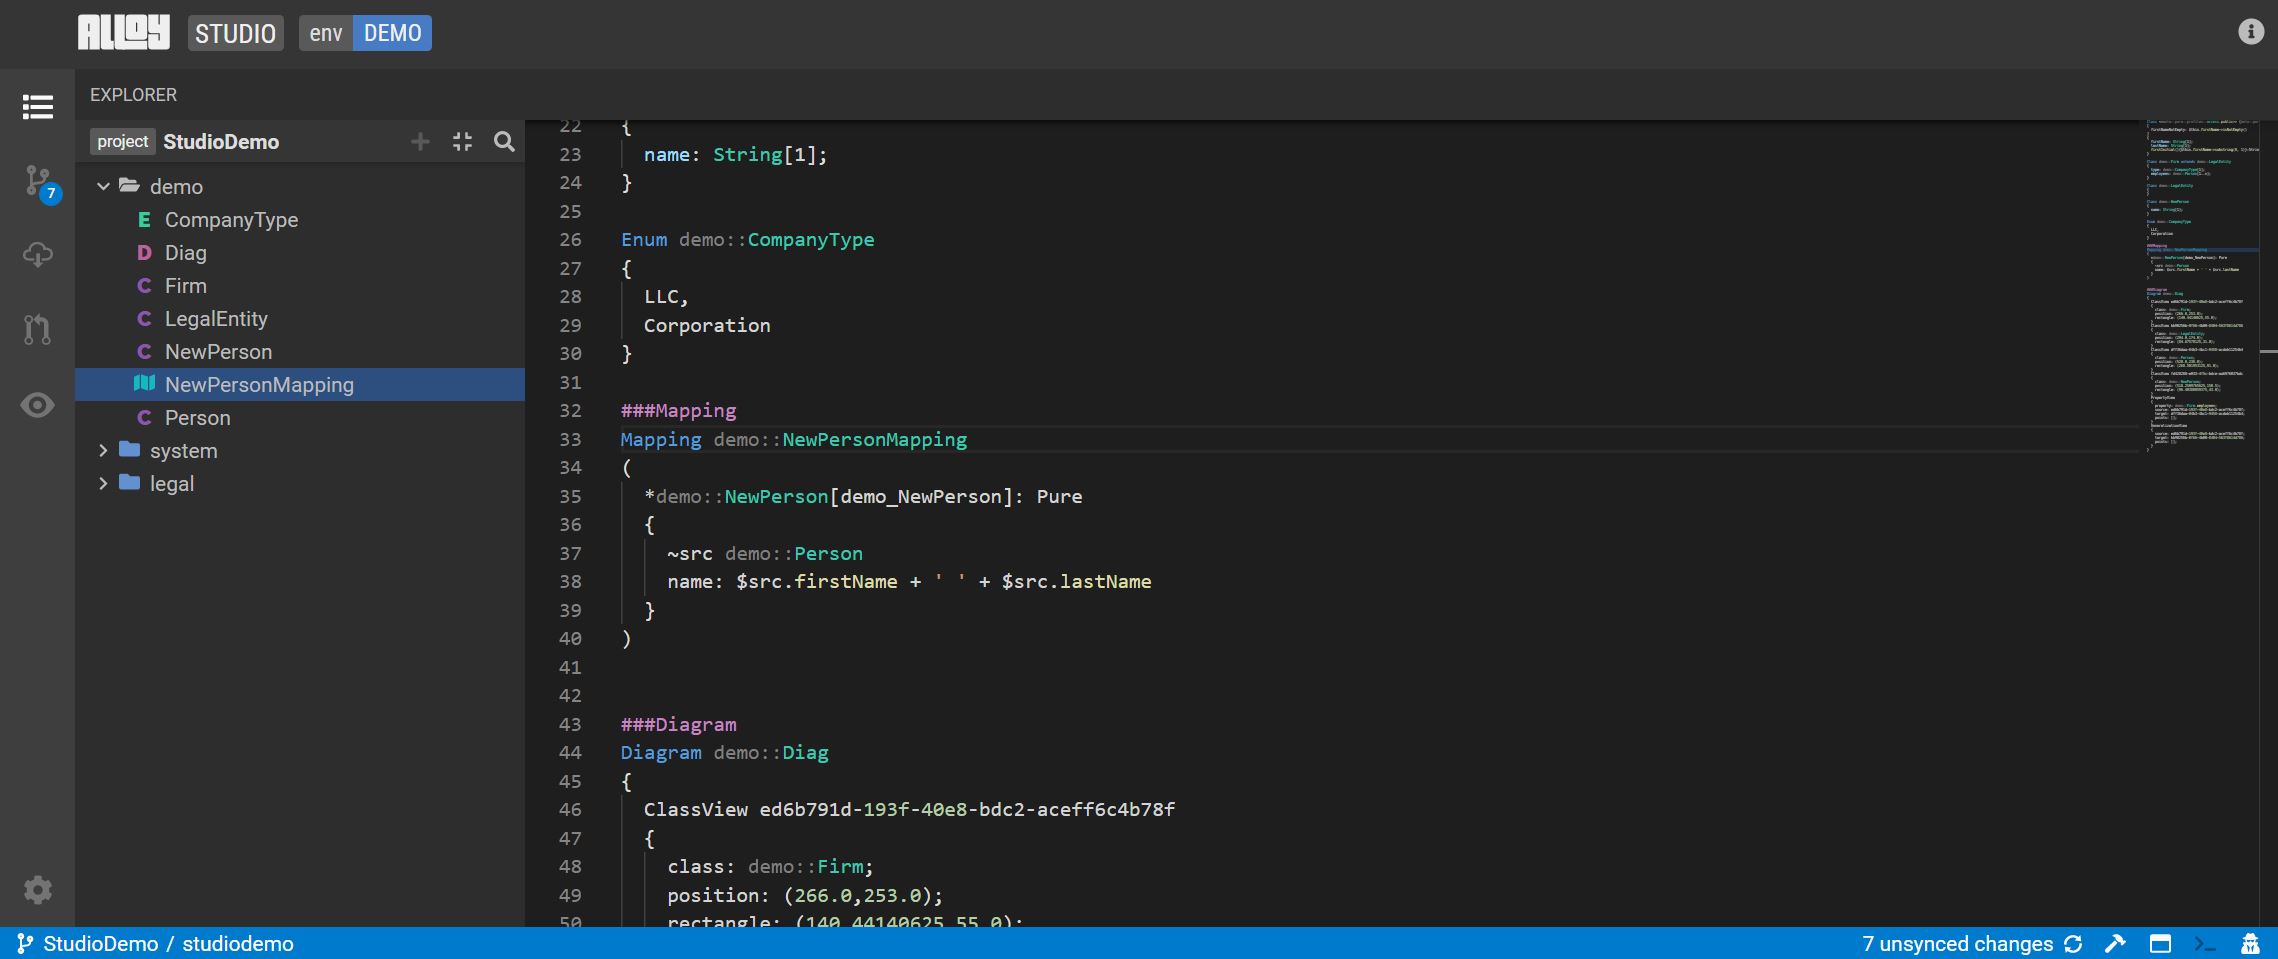
See the text view of the mapping:
Execute the Mapping
Refer to the execution user guide.
Commit model changes
Refer to the SDLC user guide.